Creating a basic Style
This workflow guides users through styling a layer in Azimap by creating a new style, configuring fill and stroke properties, and saving the changes.
1
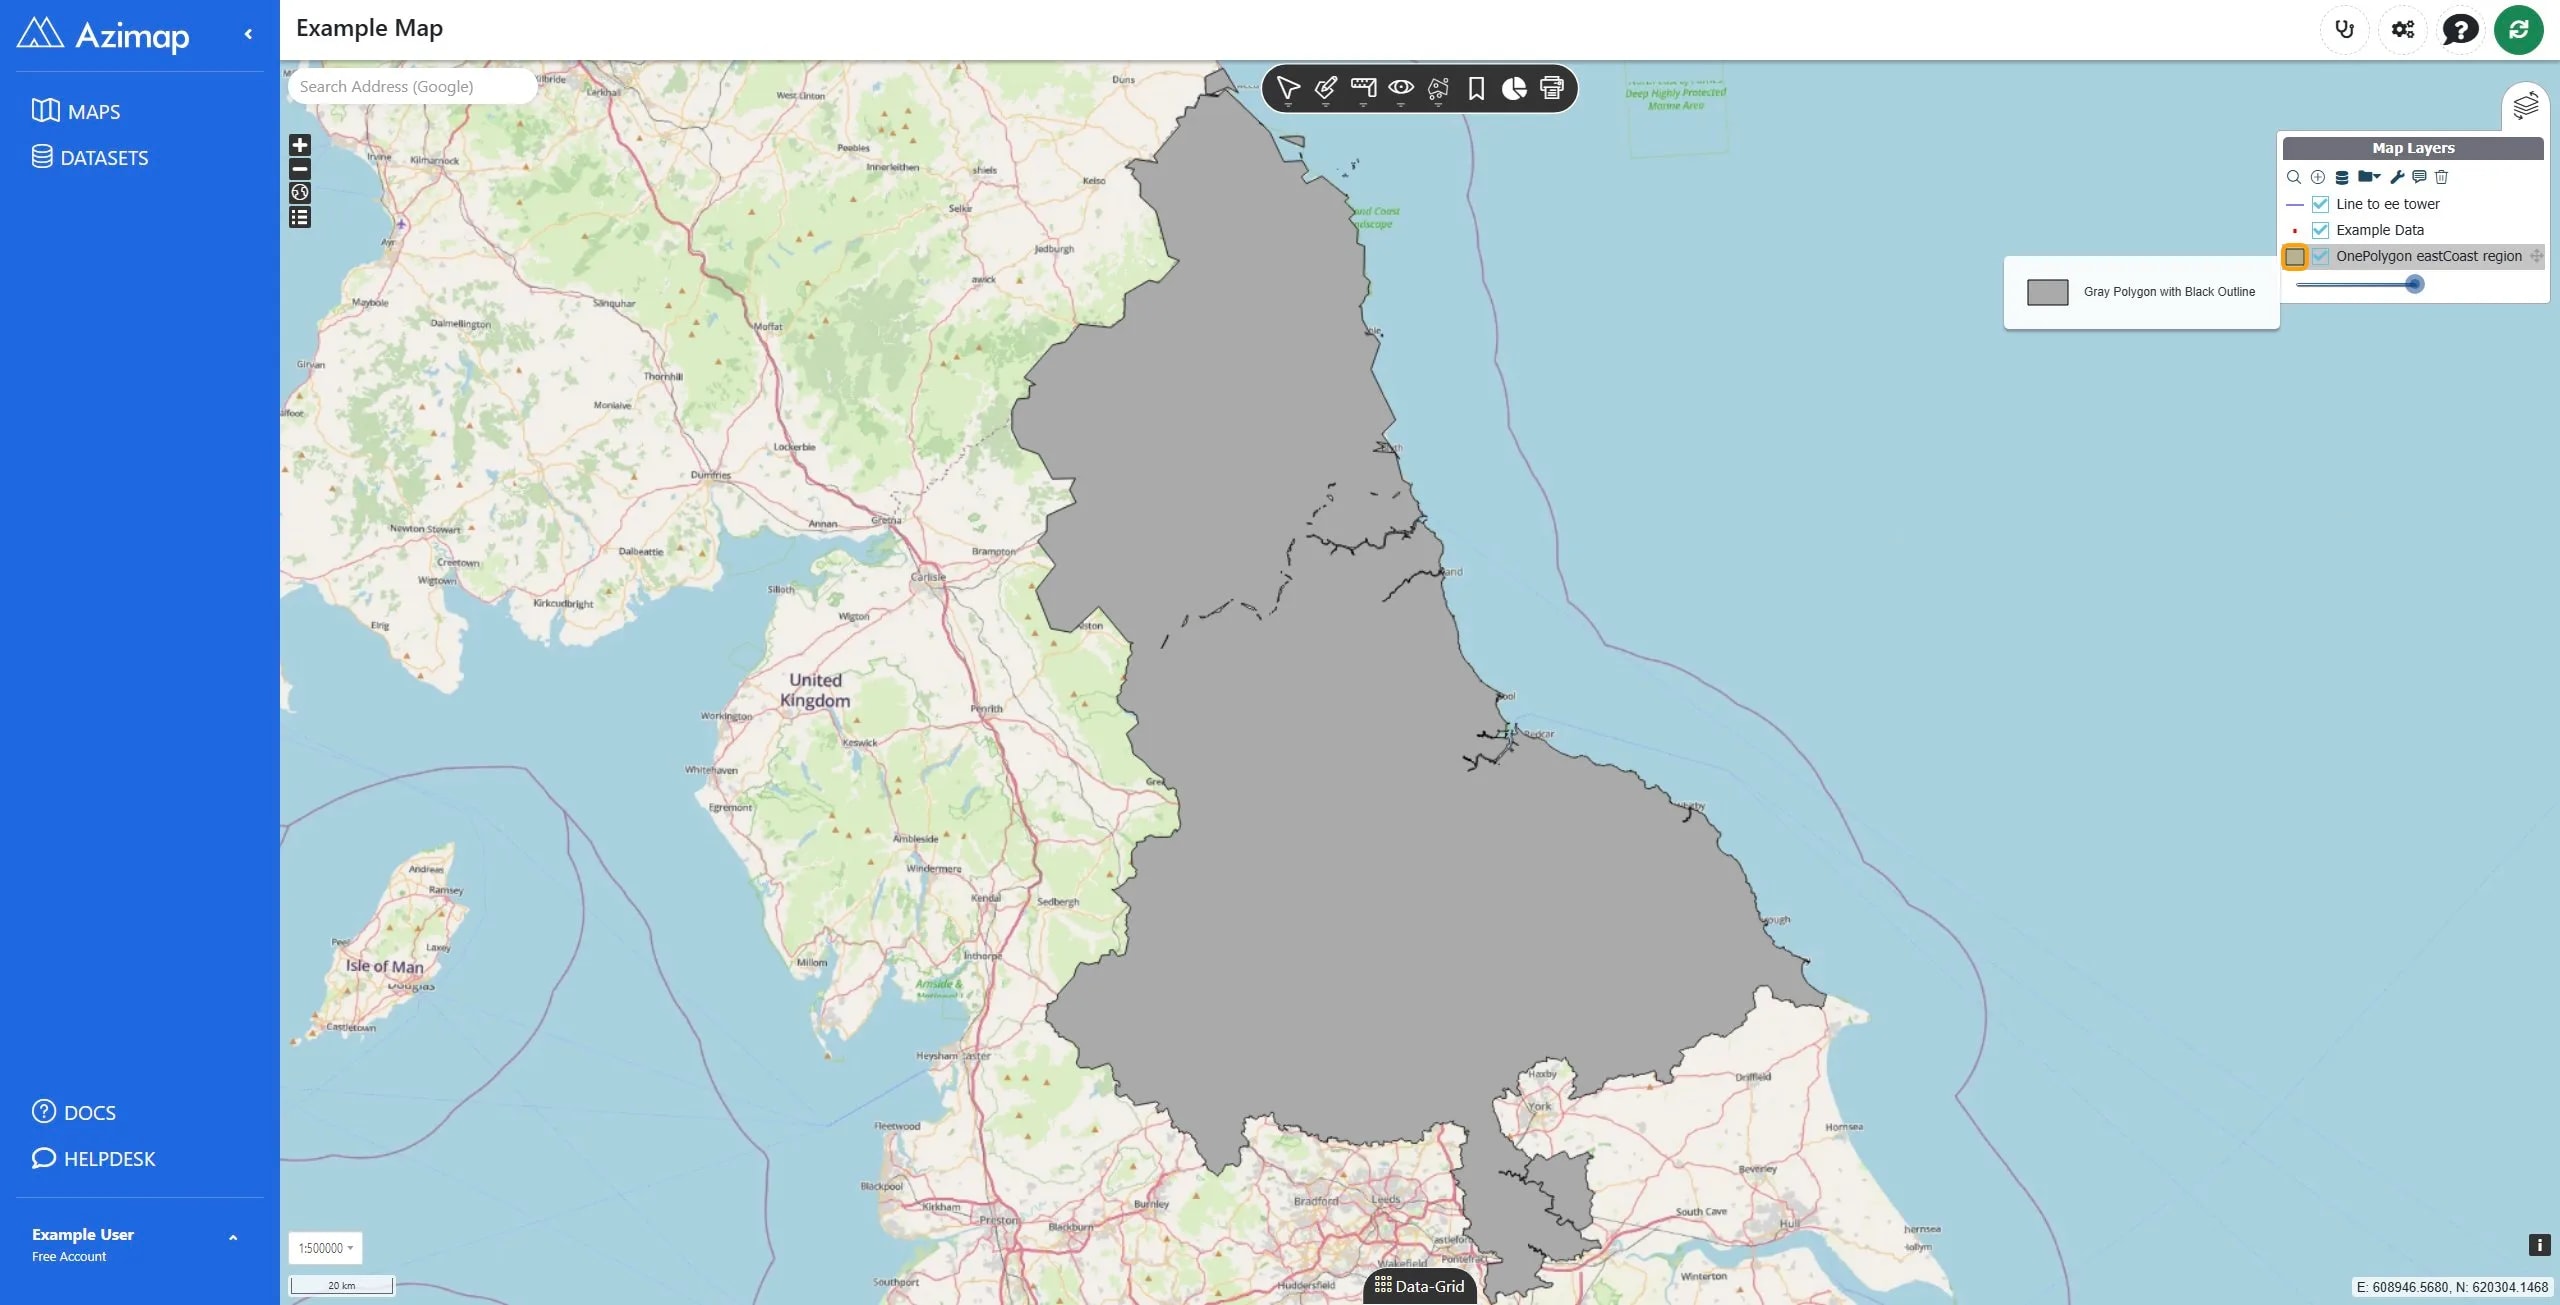
Click on the Style Preview icon of the layer you wish to change or add a style to.
2
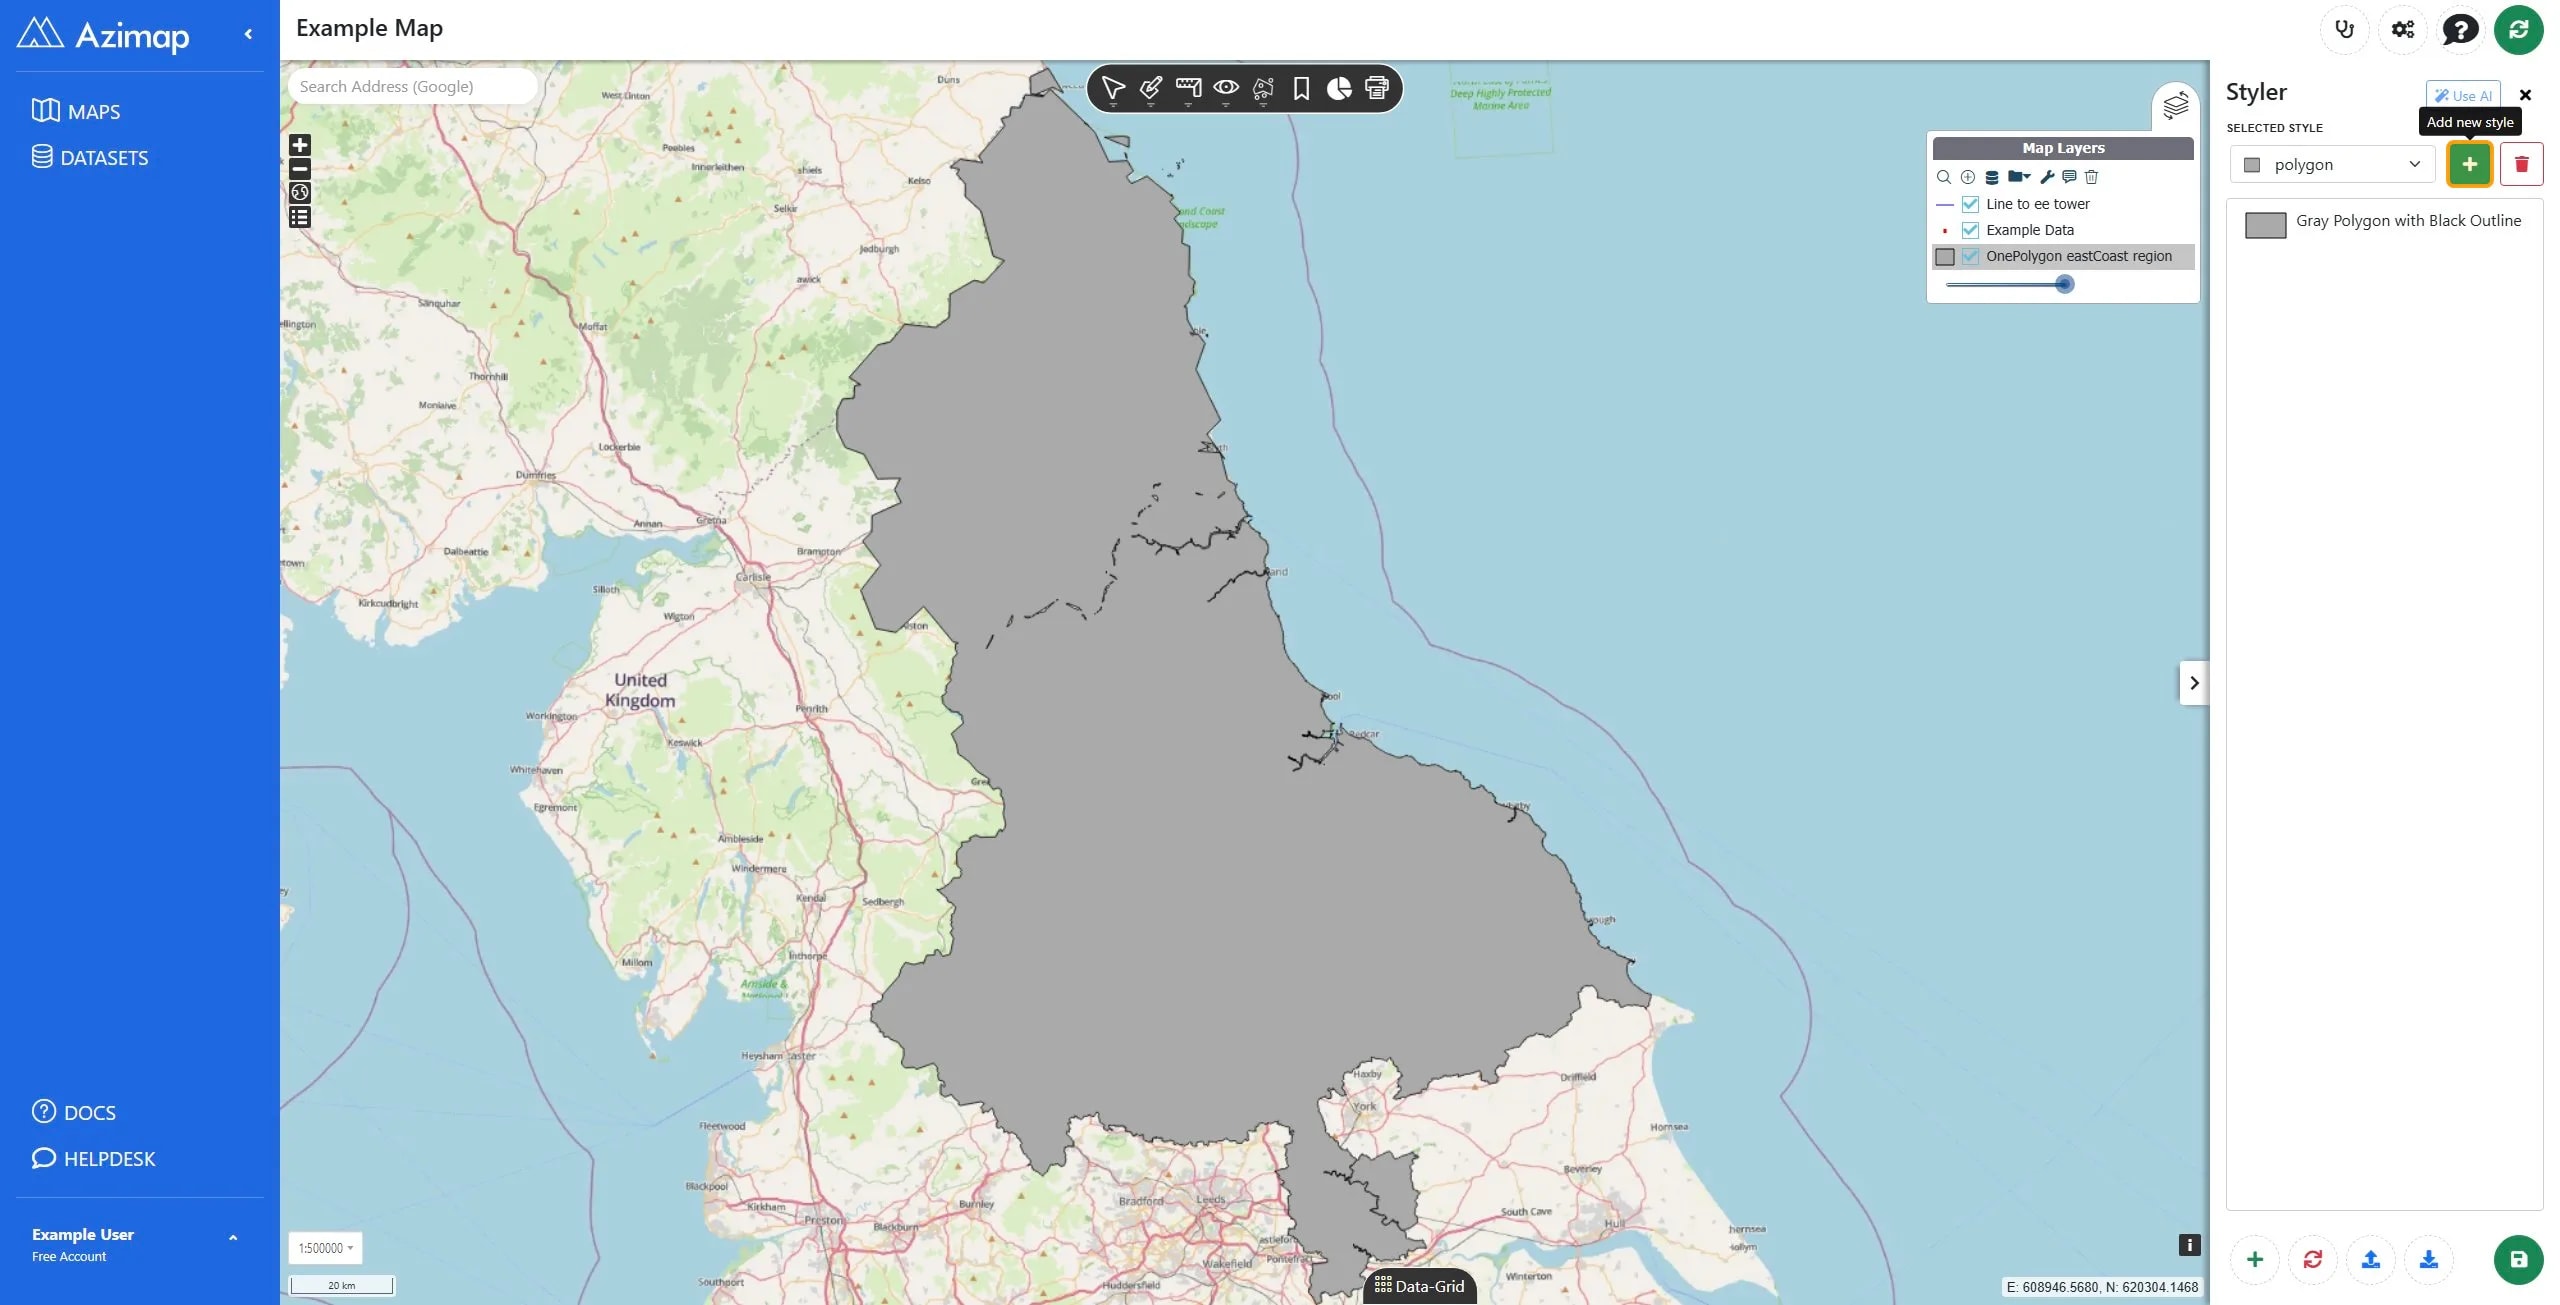
Click the 'Add new style' button to create a new style for the map layer.
3
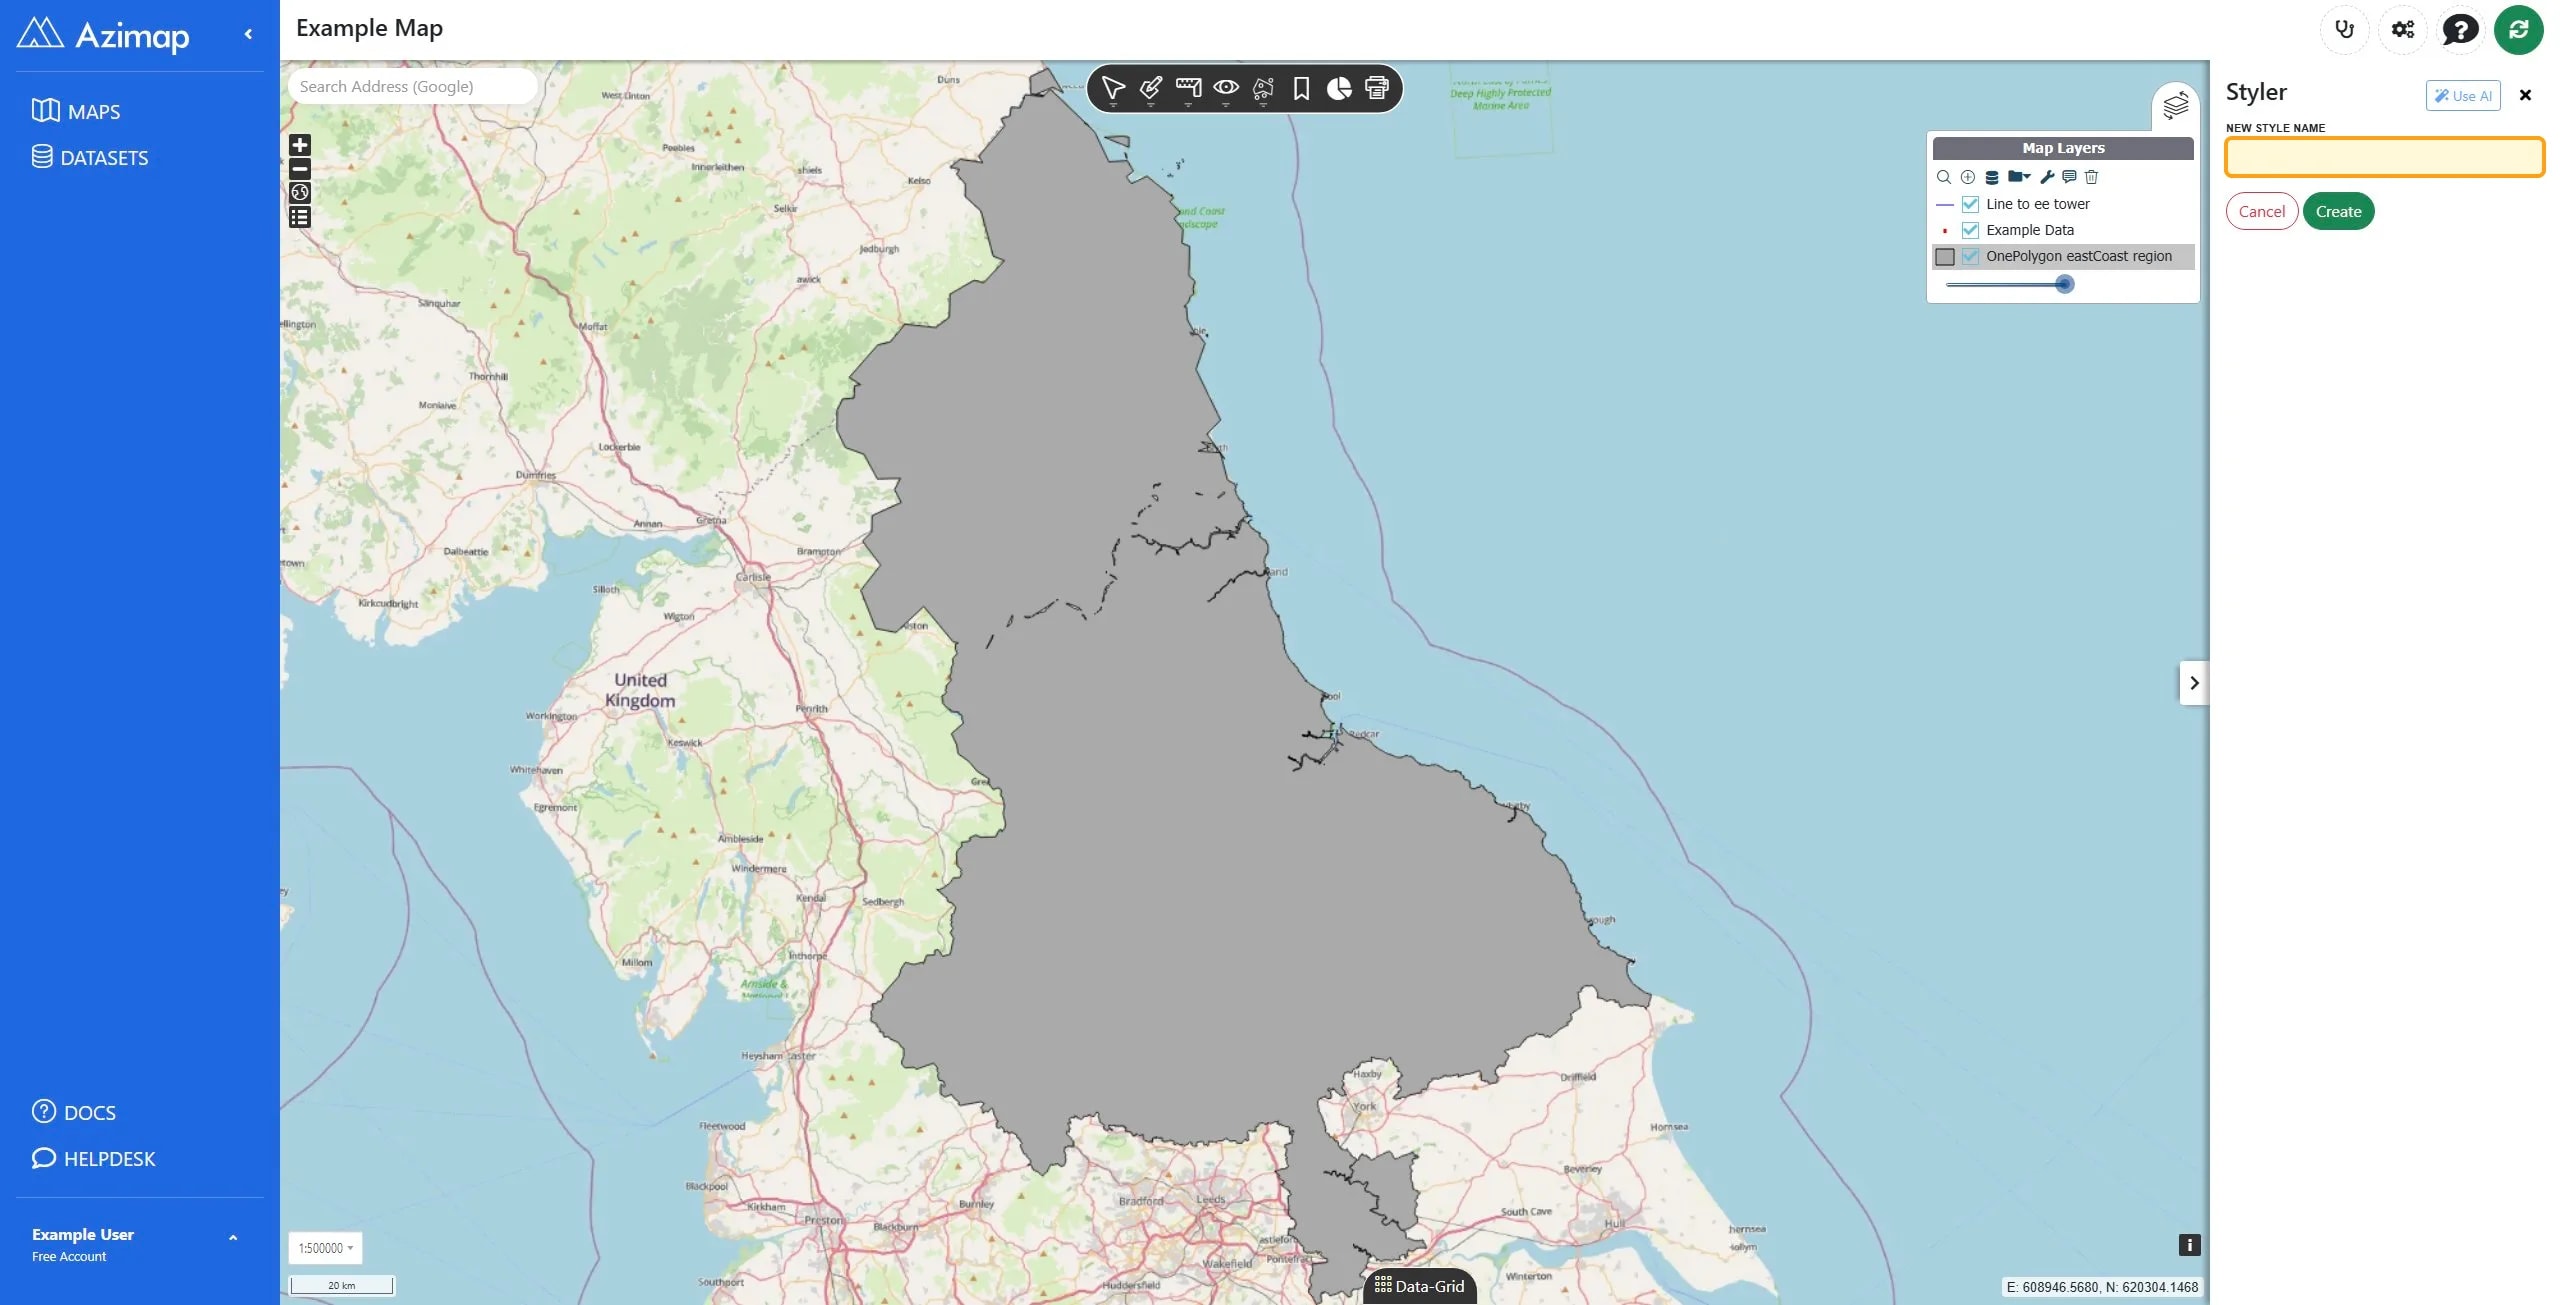
Click the 'New Style Name' field to enter a name for the new style.
4
Click the 'Create' button continue to configure the style.
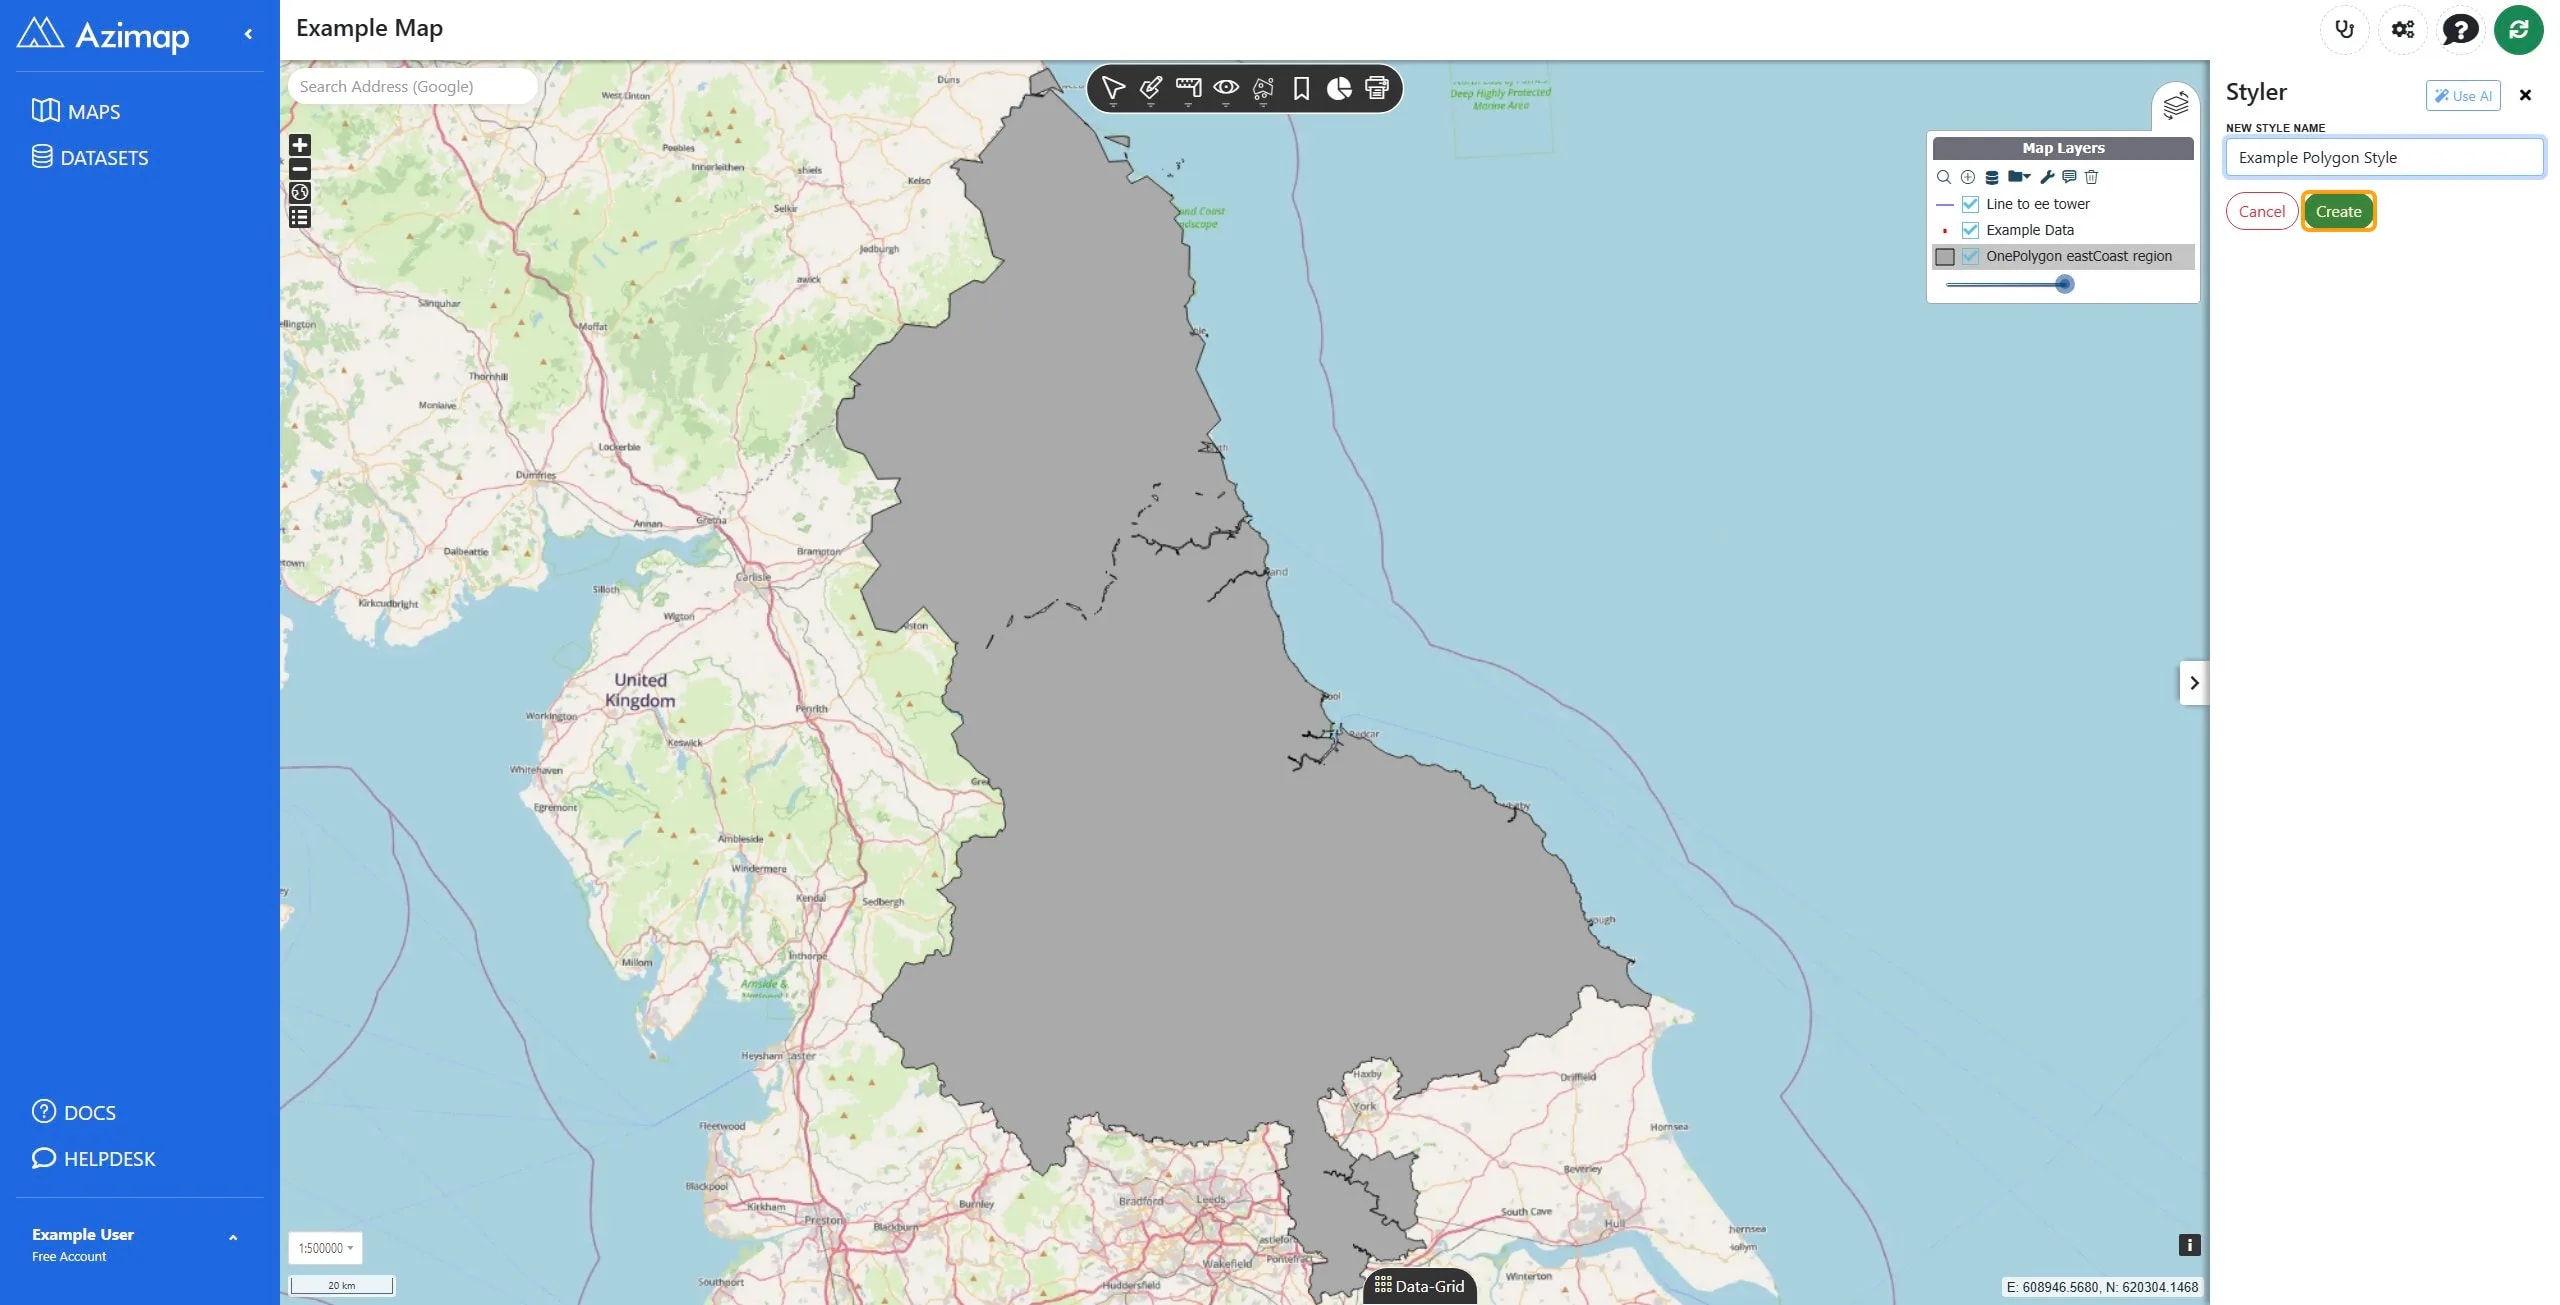
5
The style is create with a default rule 'OL Style Rule 0'. Click on this rule to edit it.
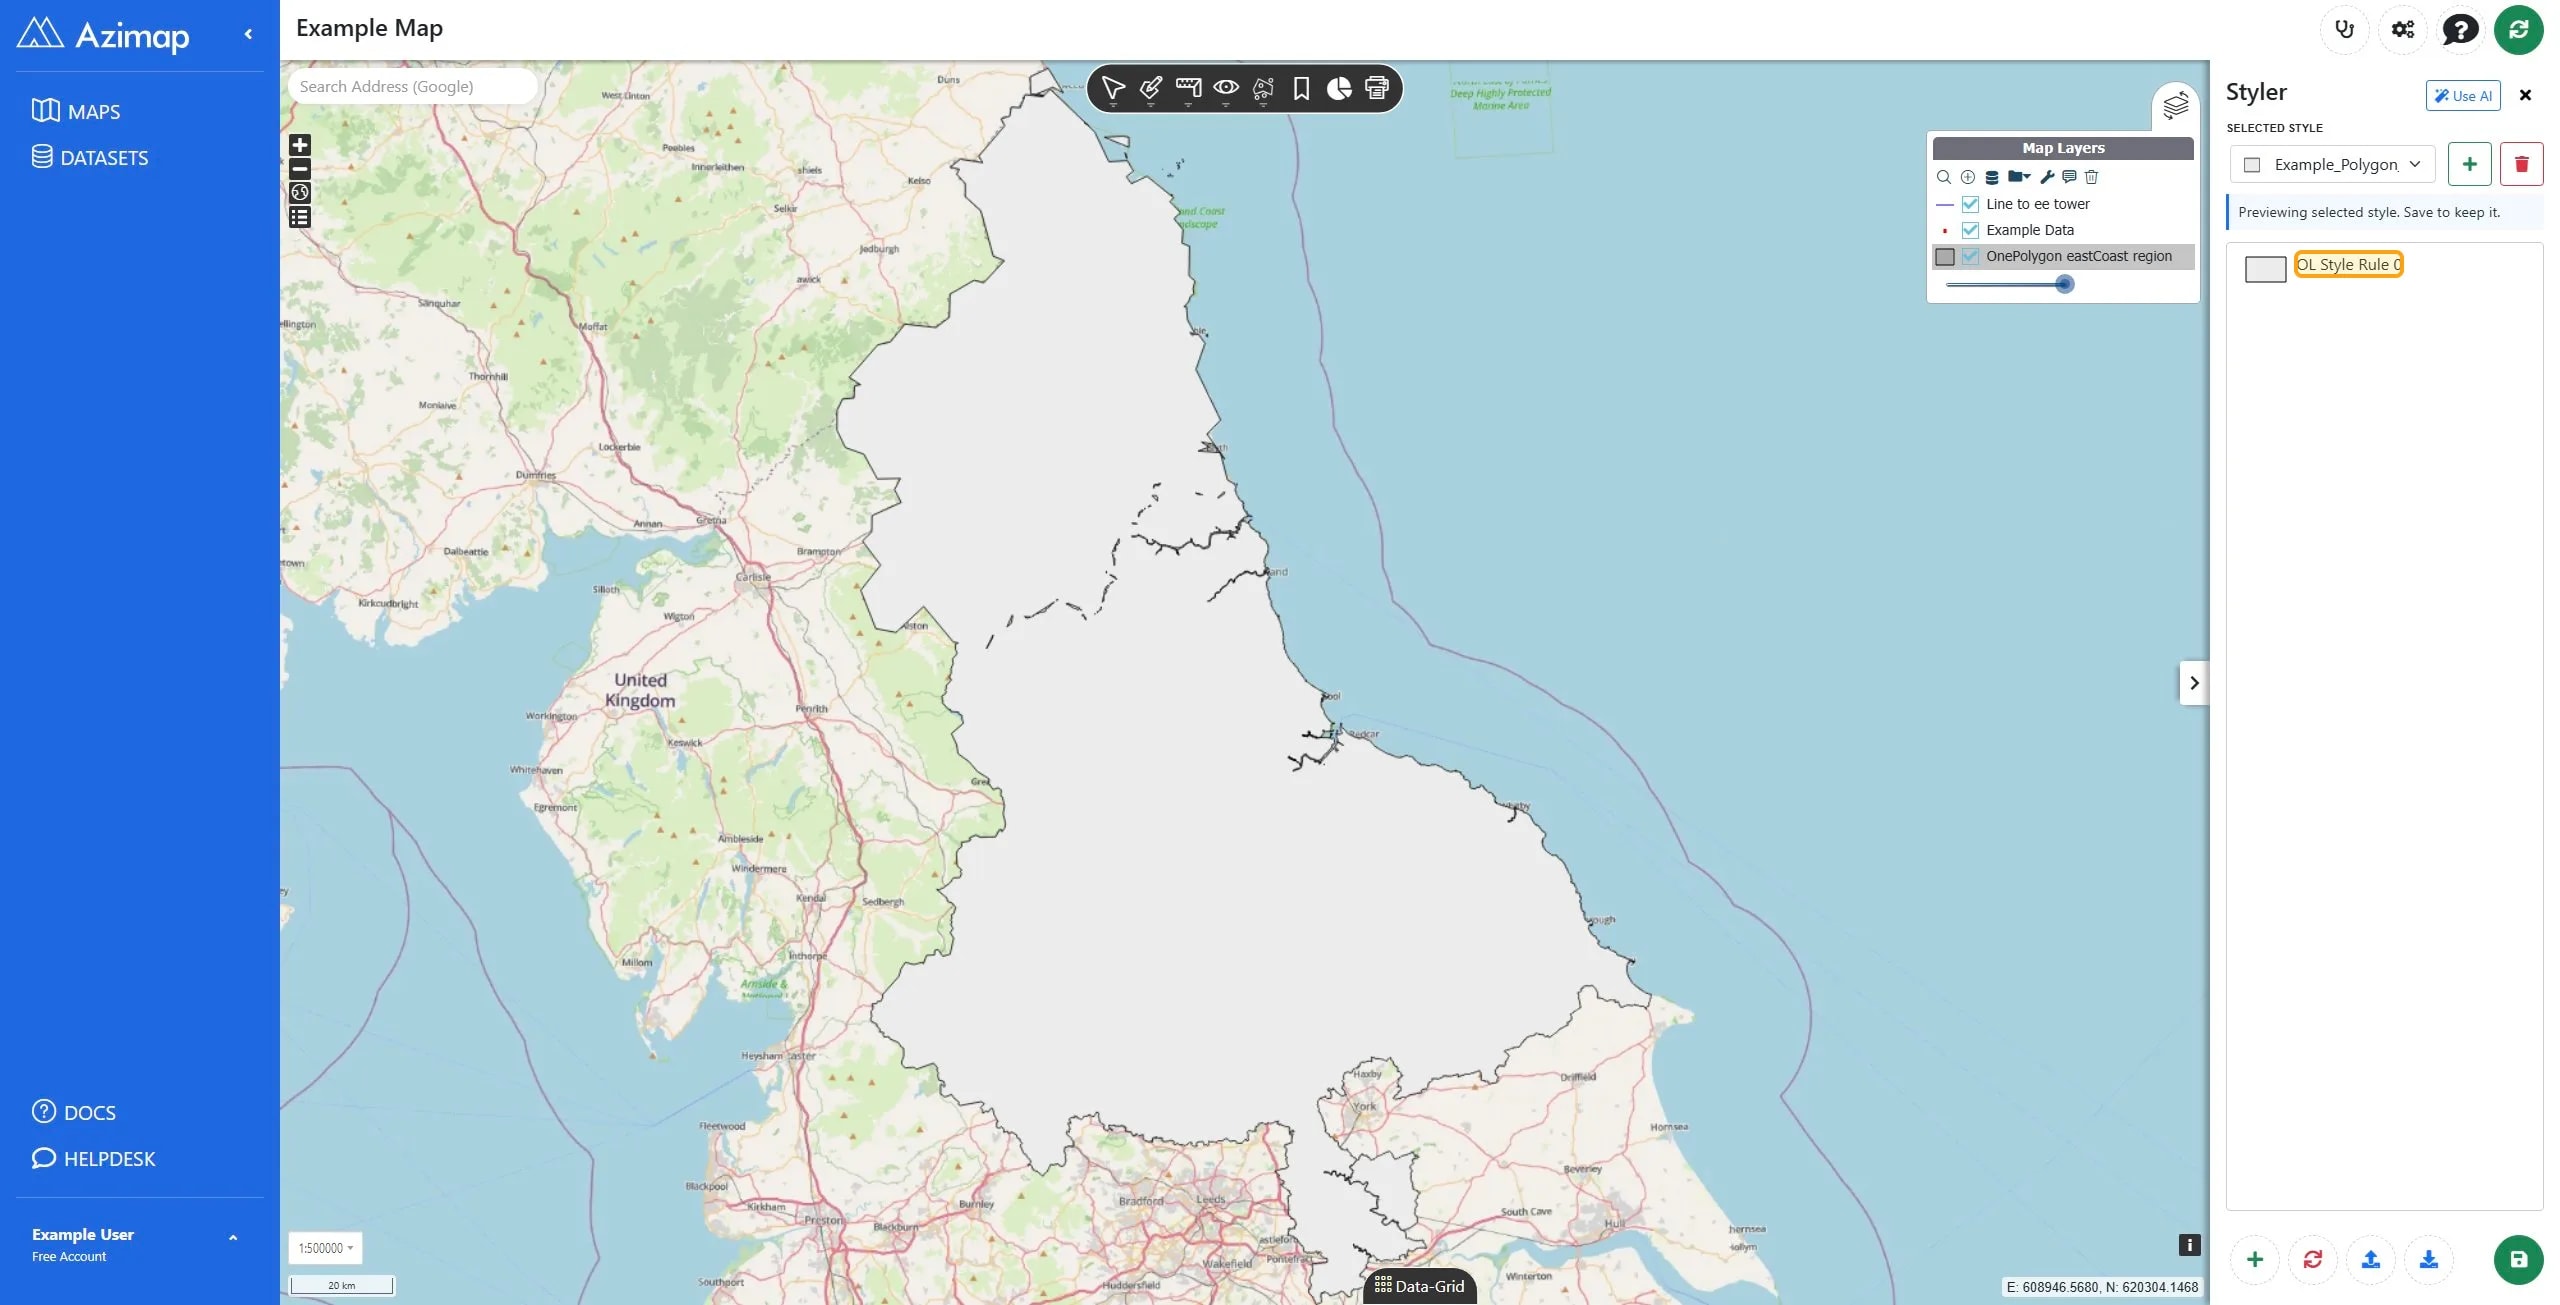
TipThe buttons along the bottom allow you to add multiple rules, import and export styles.
6
Enter a name for the rule.
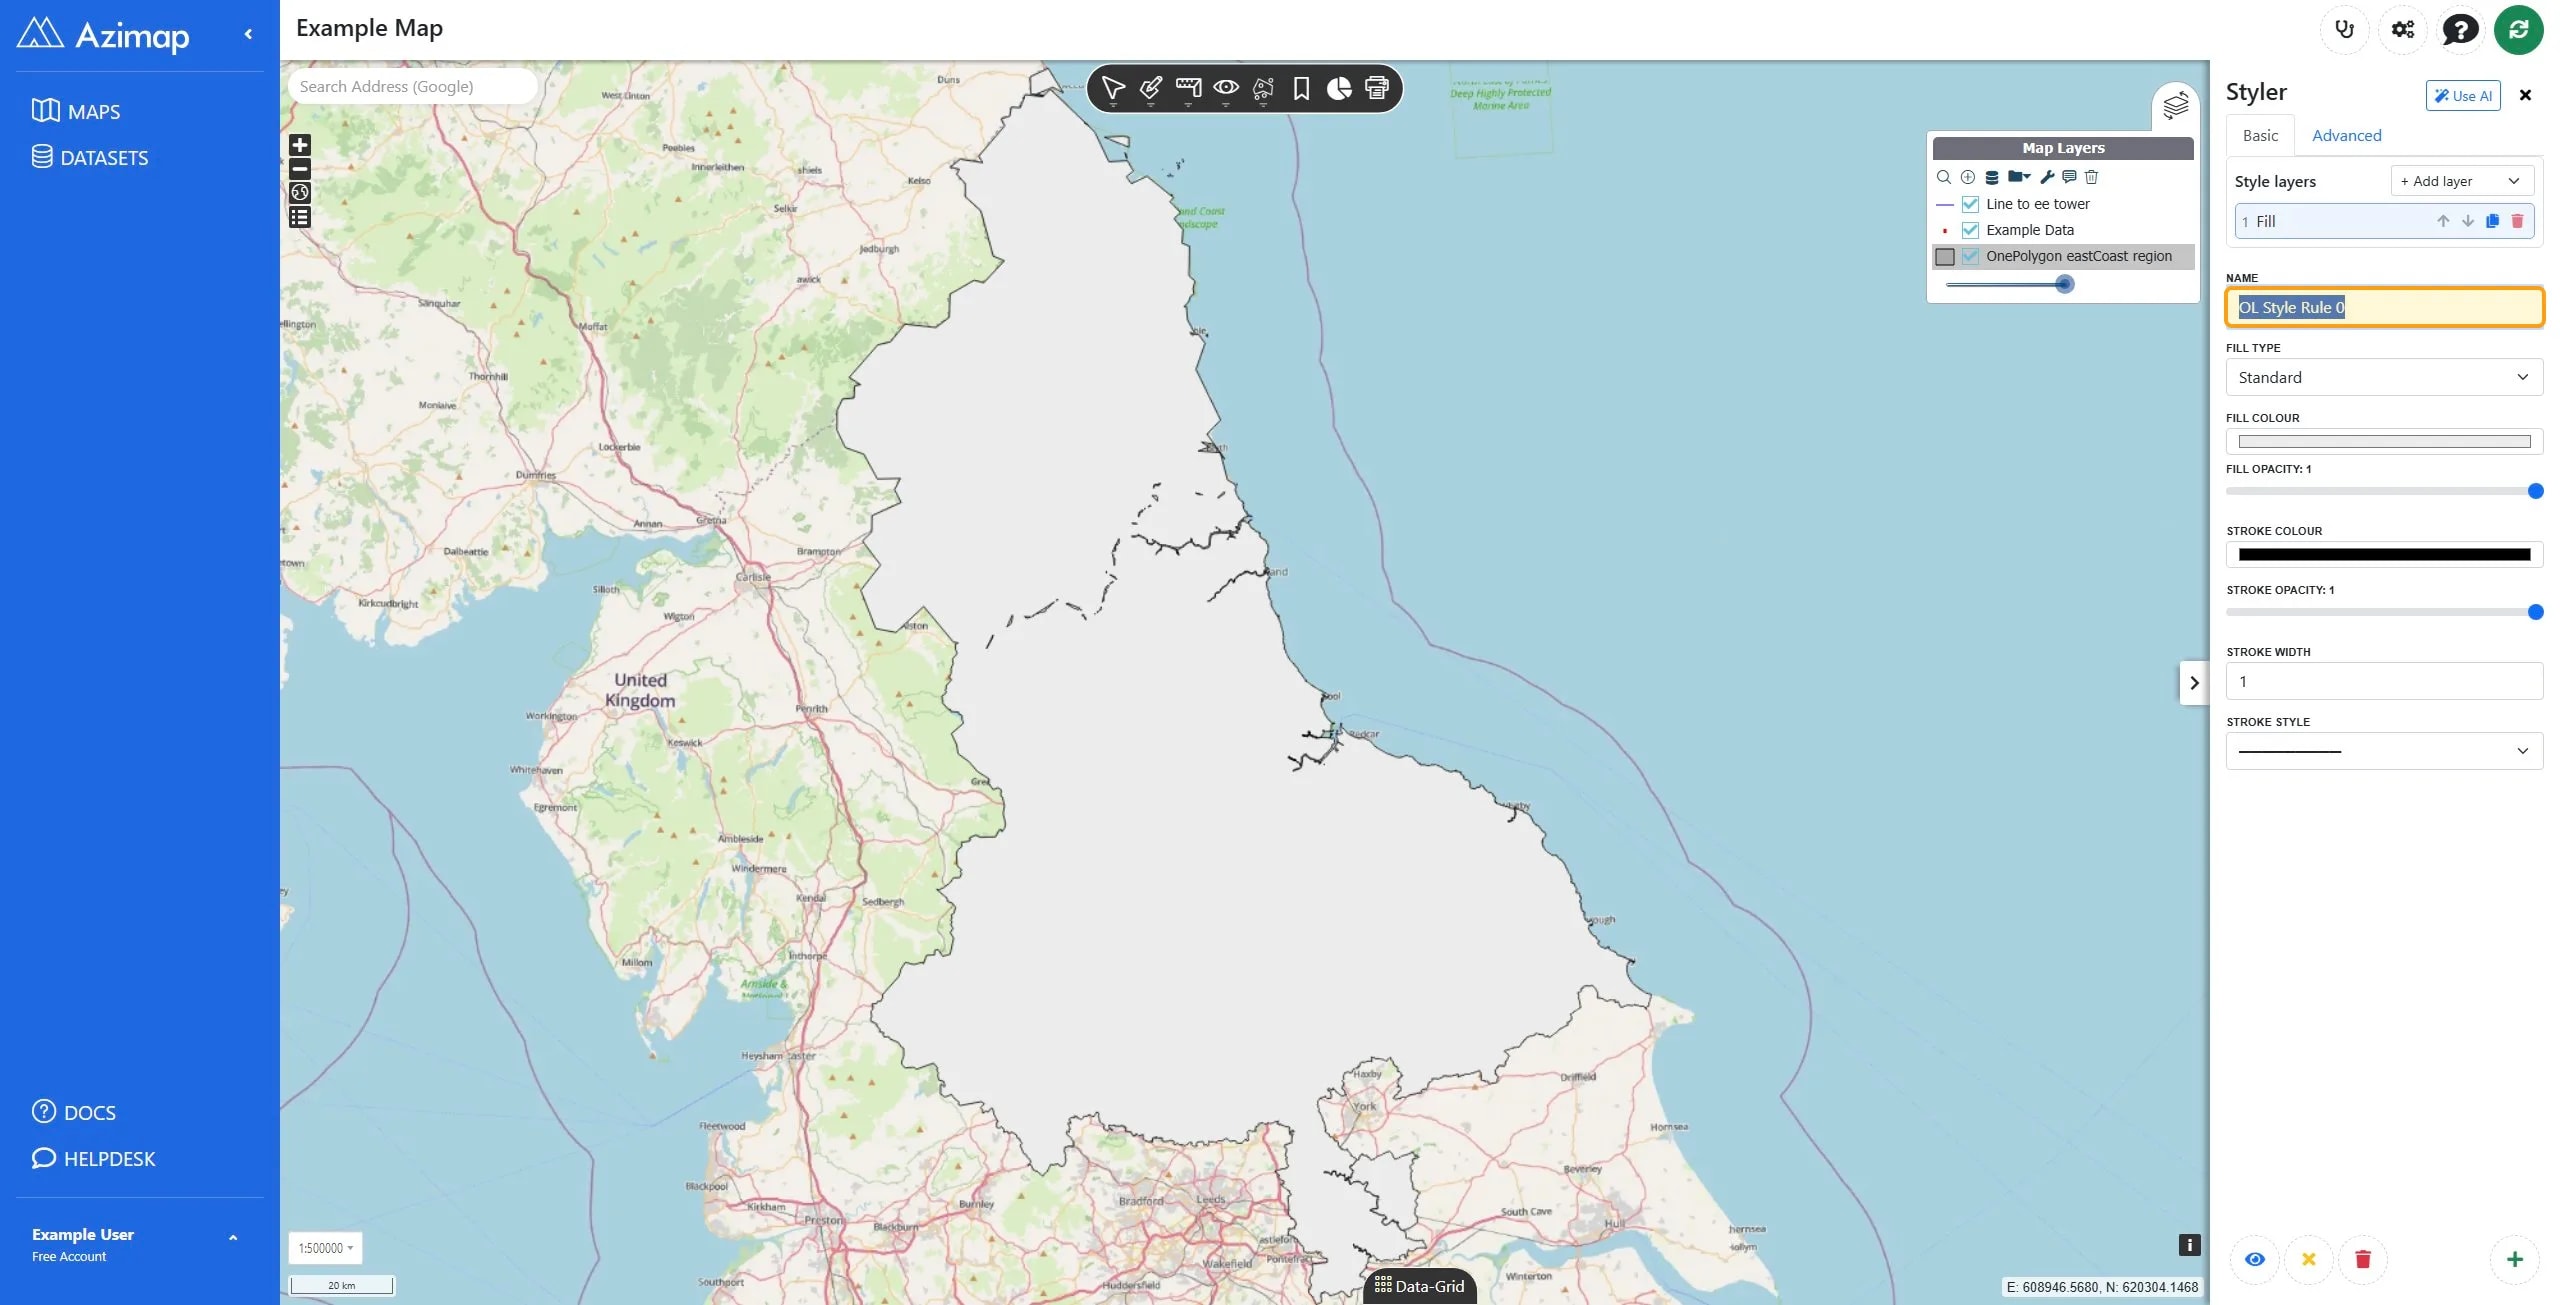
7
Click the 'Fill Type' dropdown to choose a fill option.
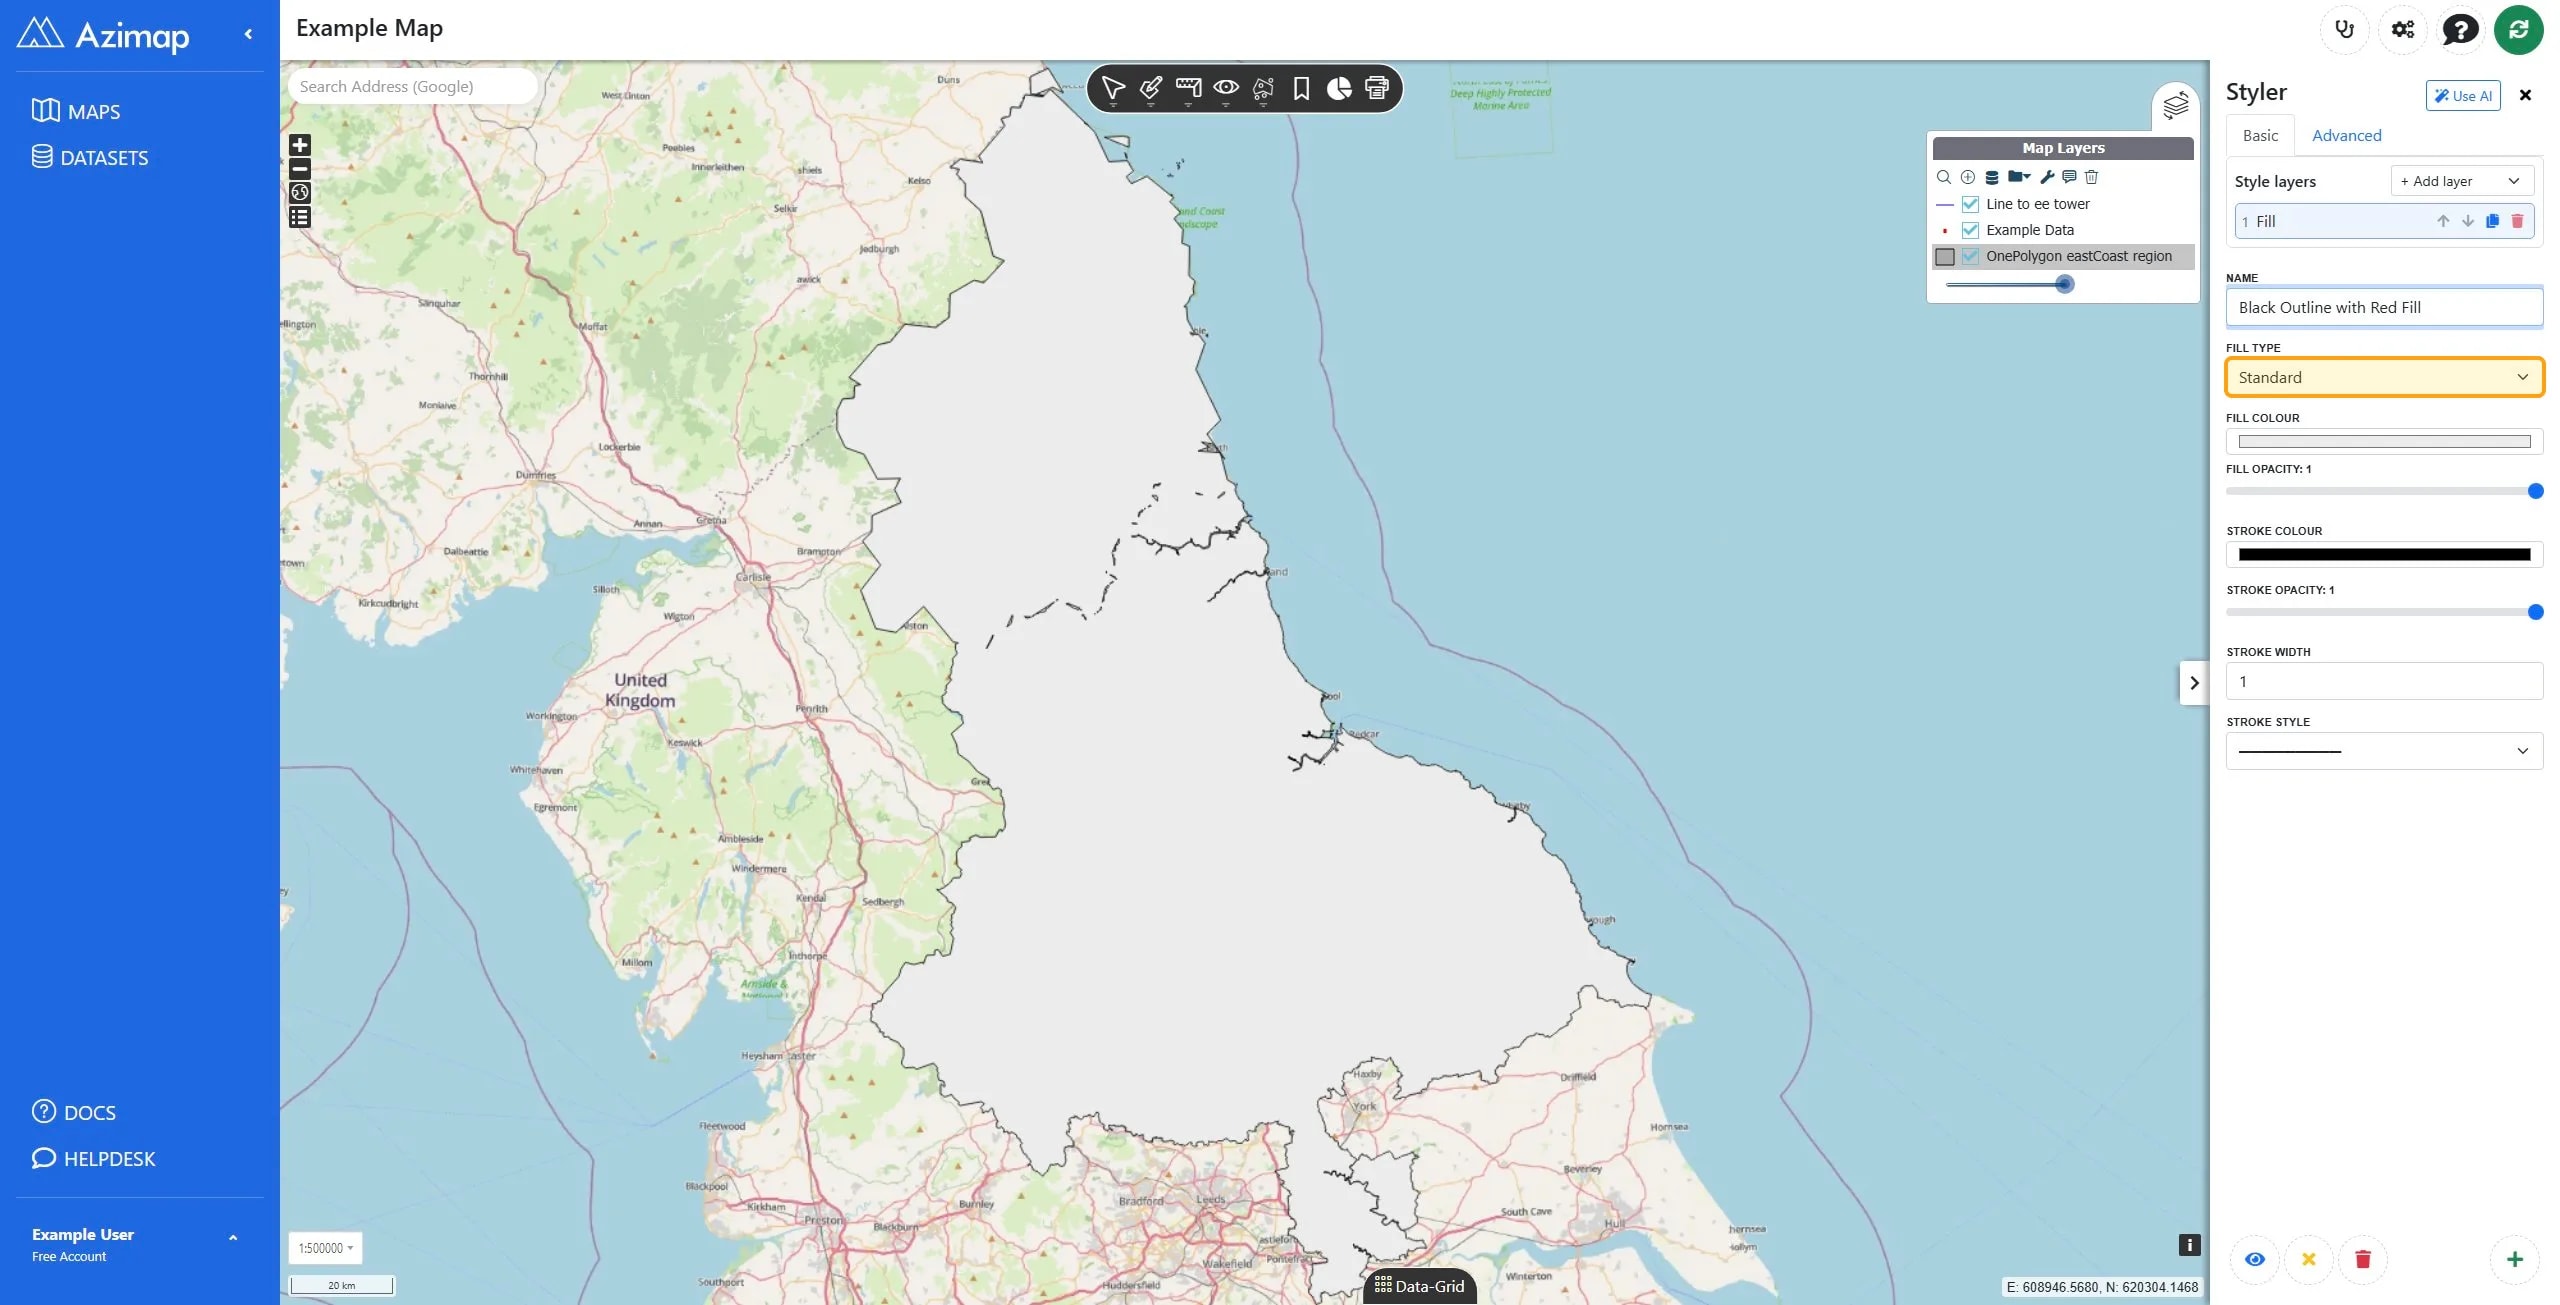
8
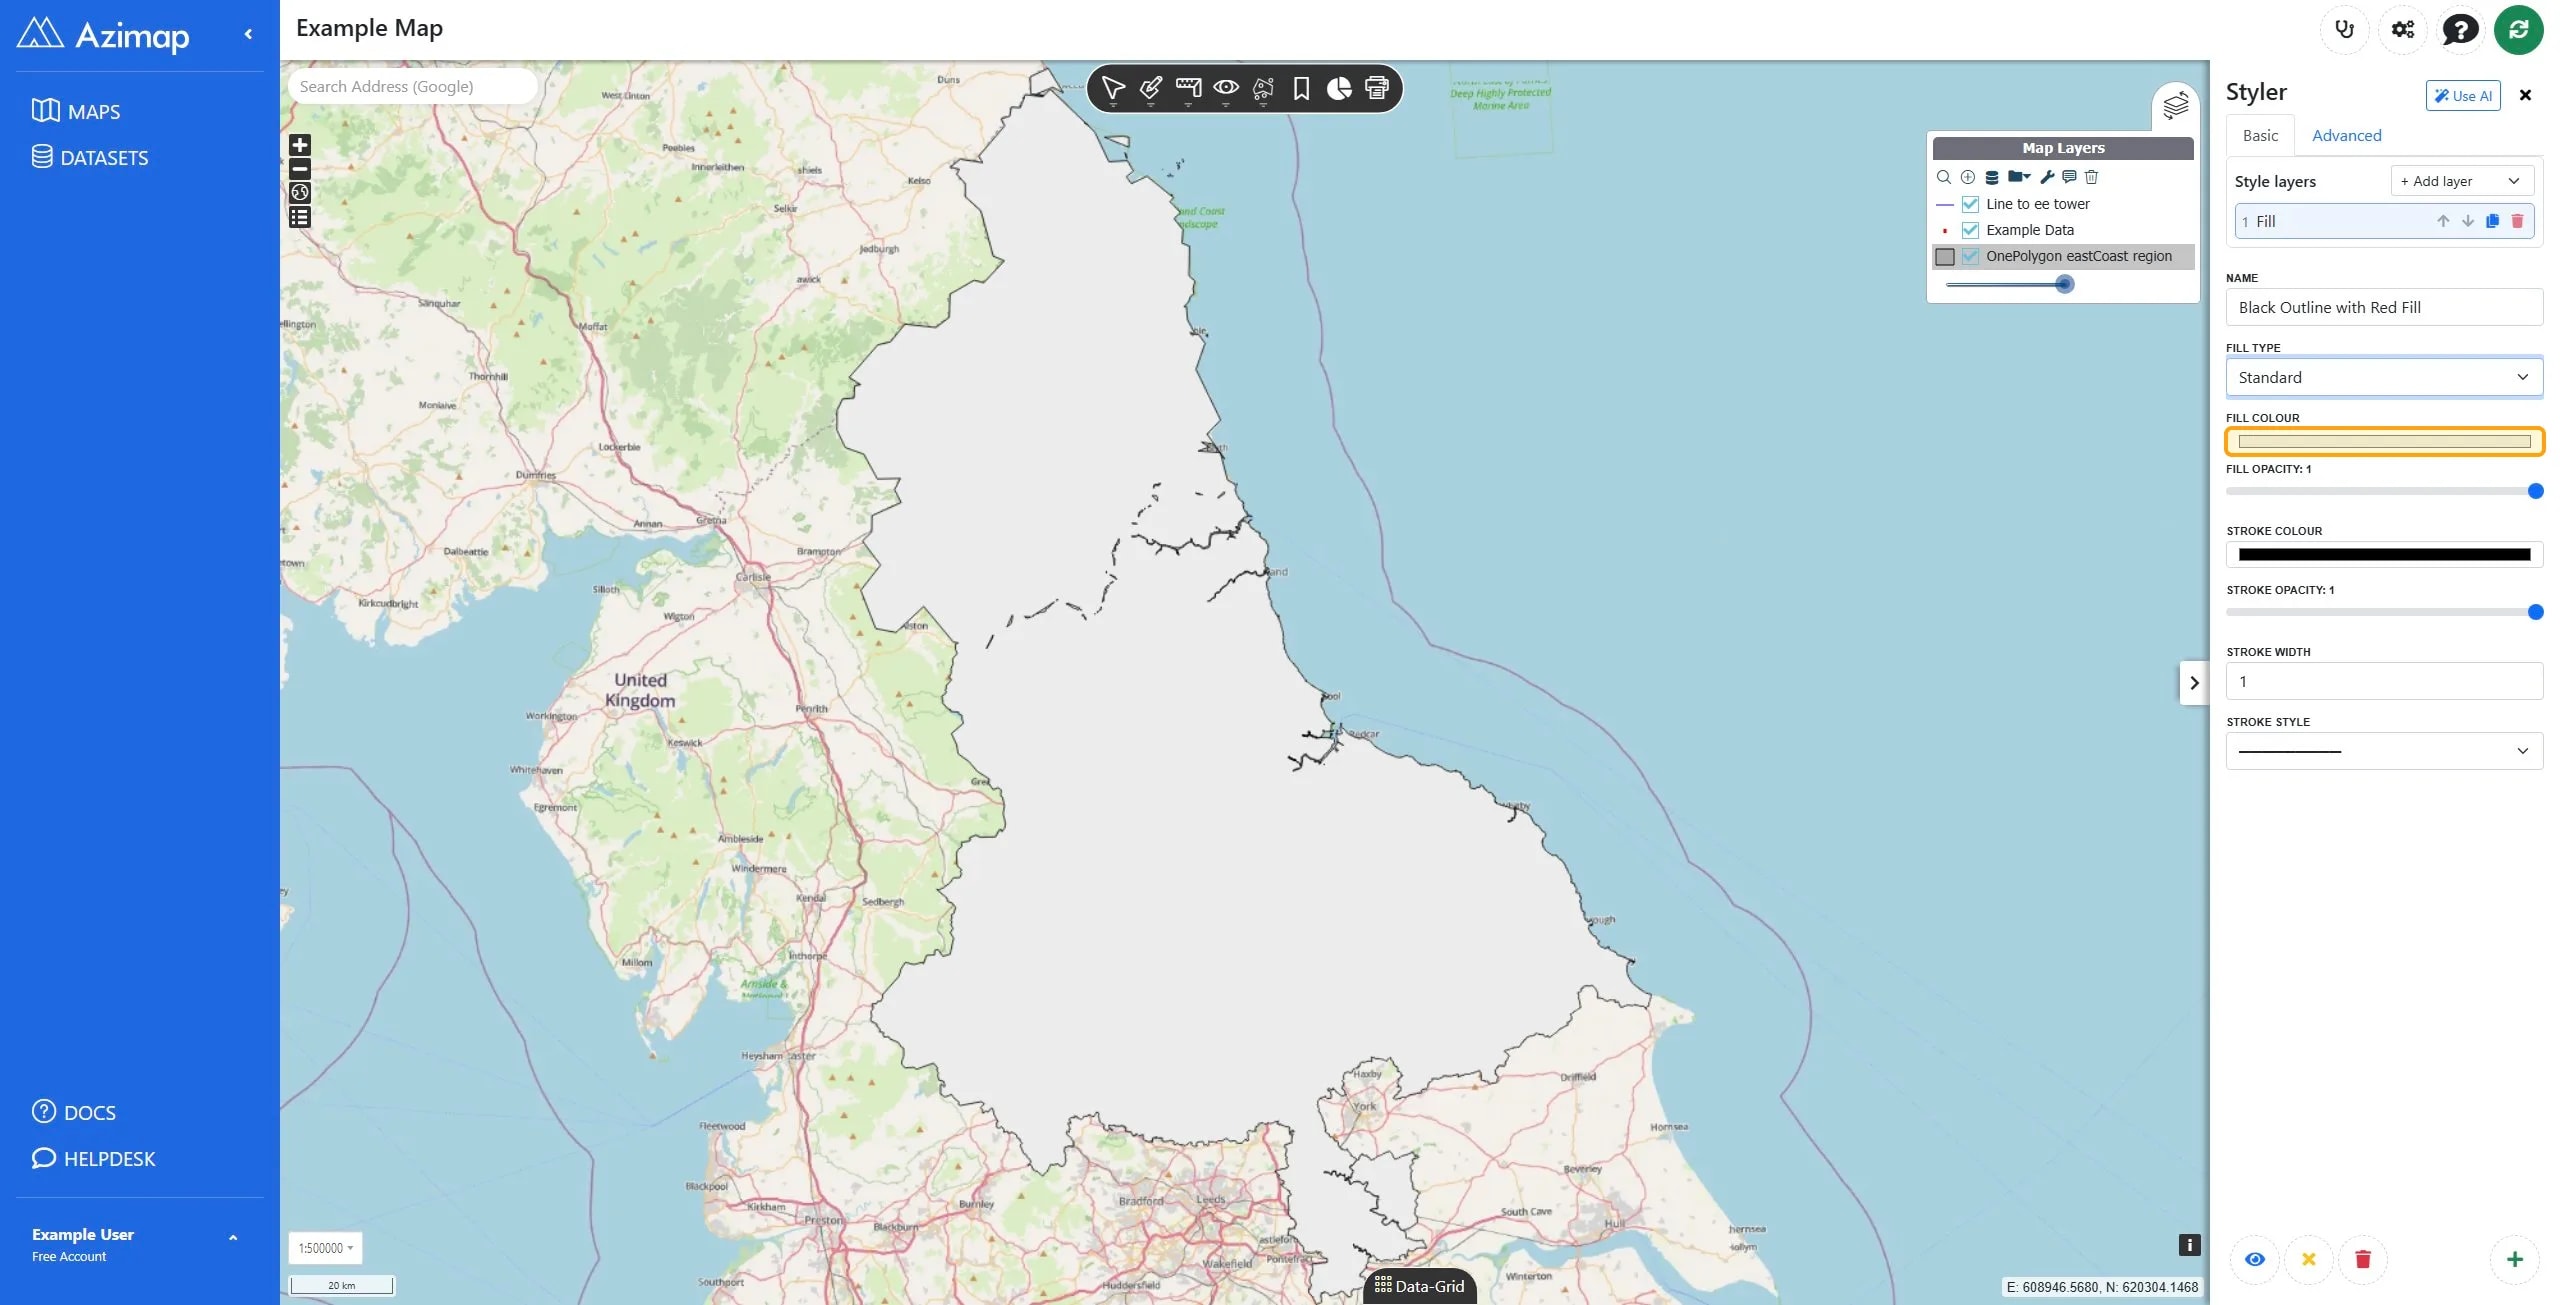
Click the Fill Colour field to choose a color for the map layer fill.
9
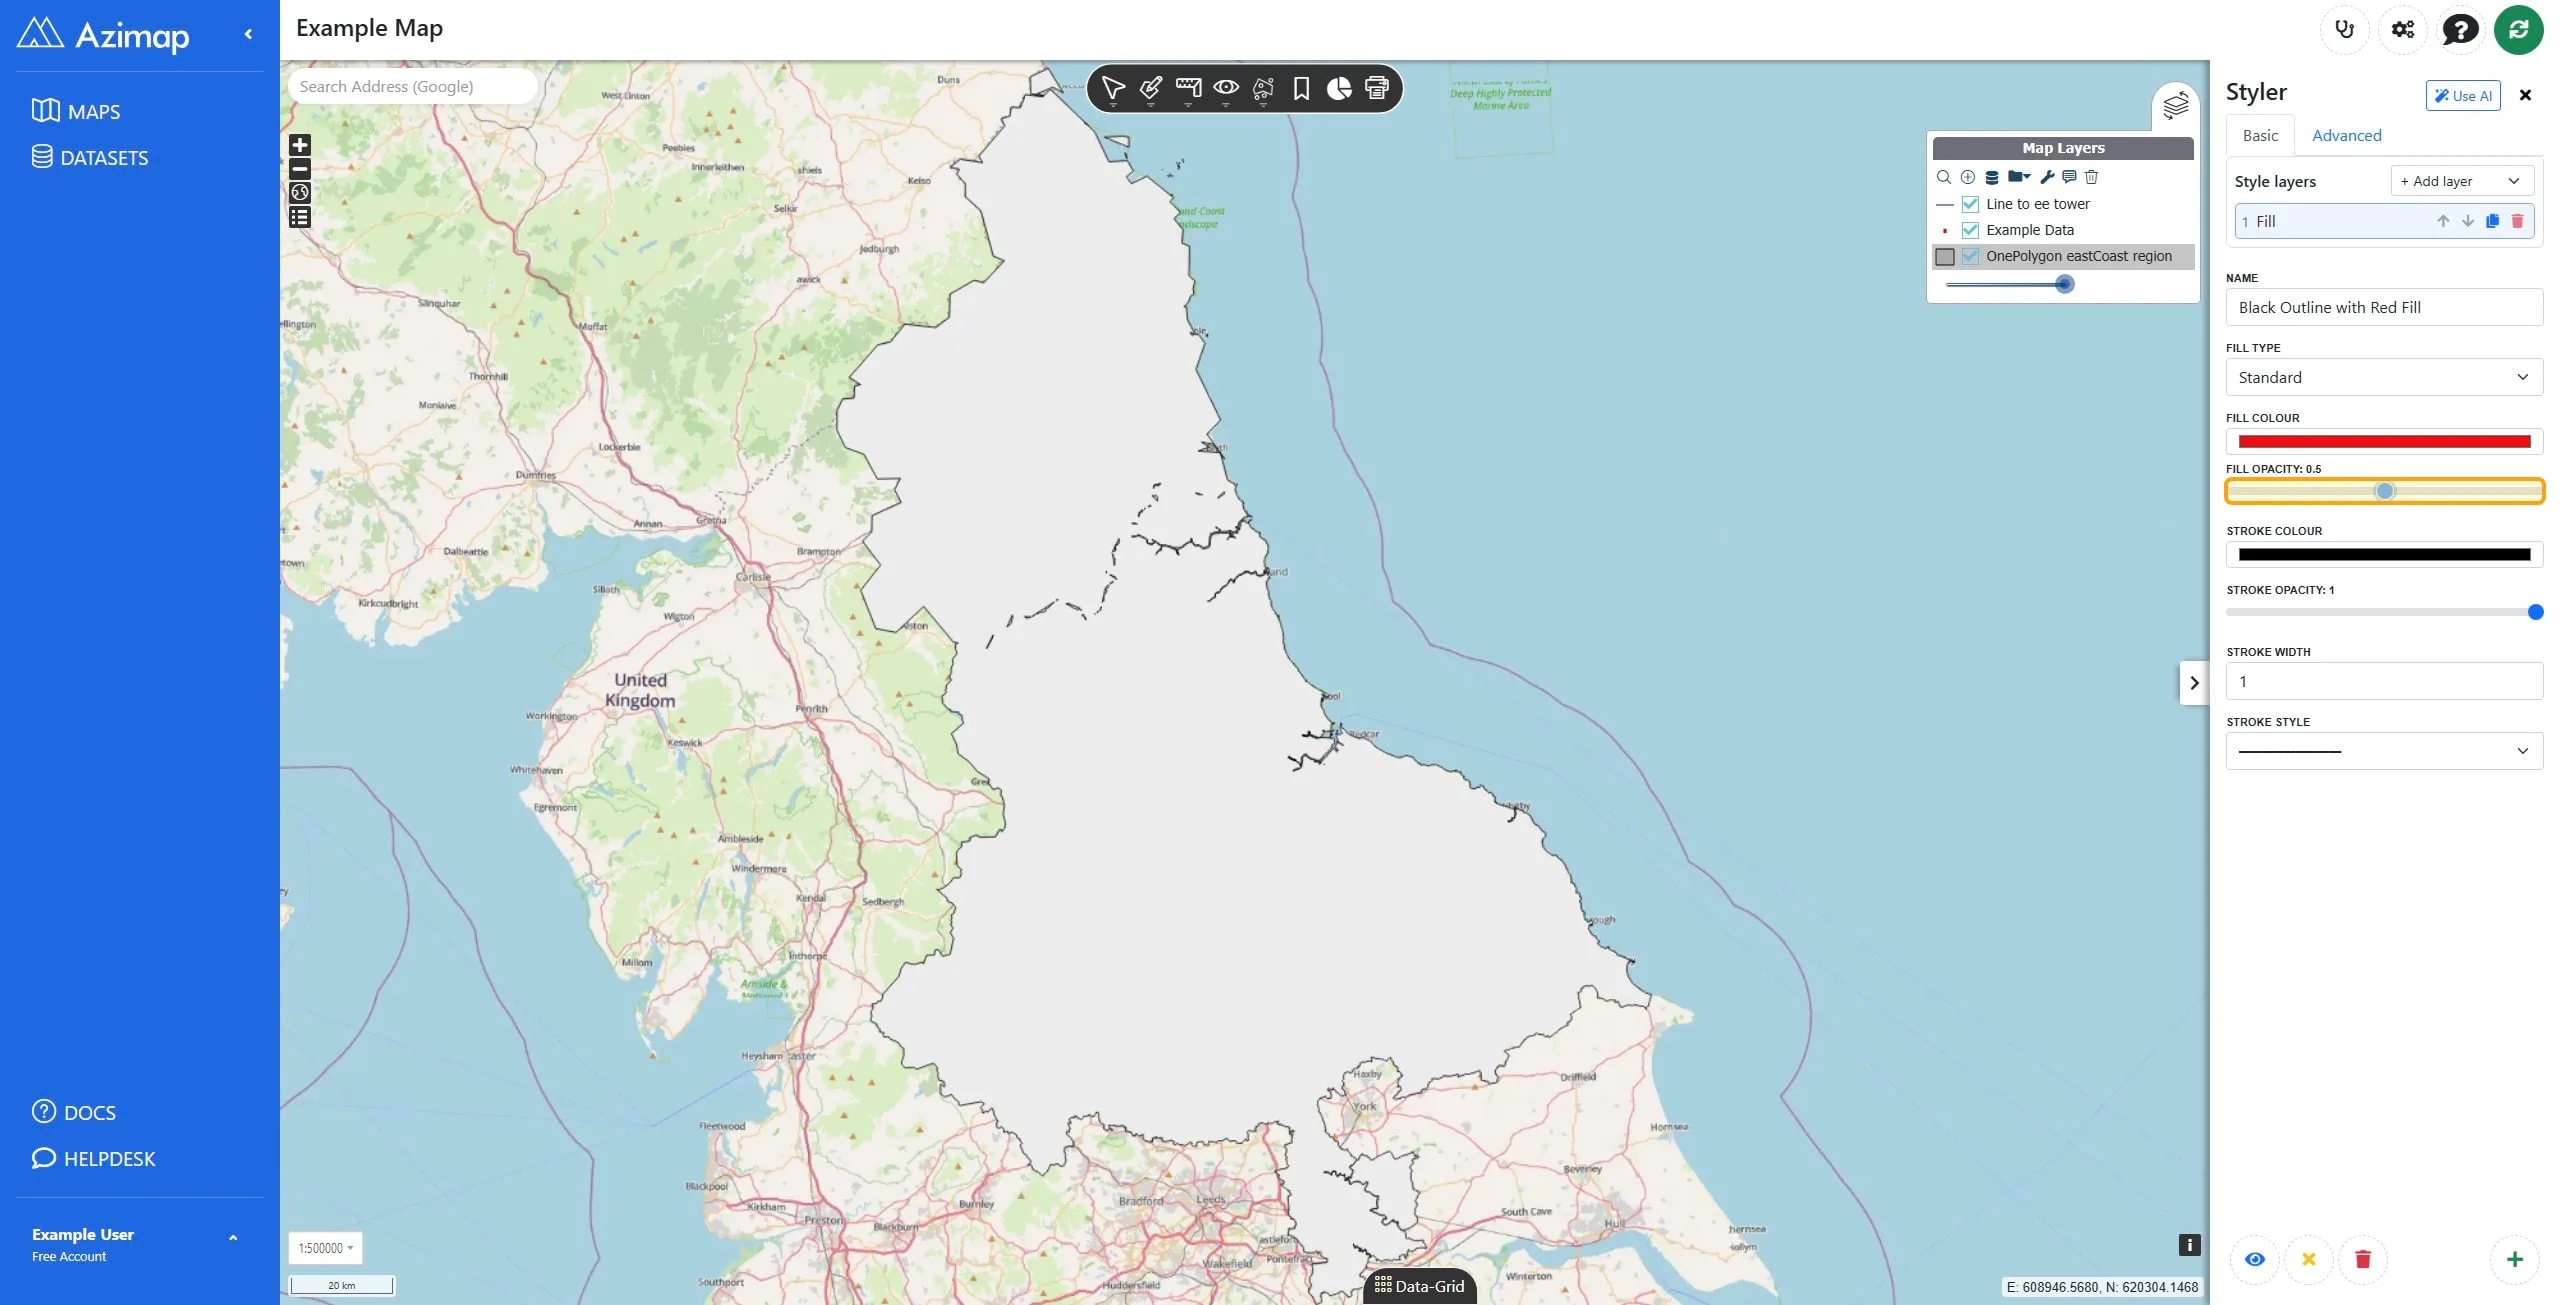
Click and drag the fill opacity slider to set the fill opacity.
10
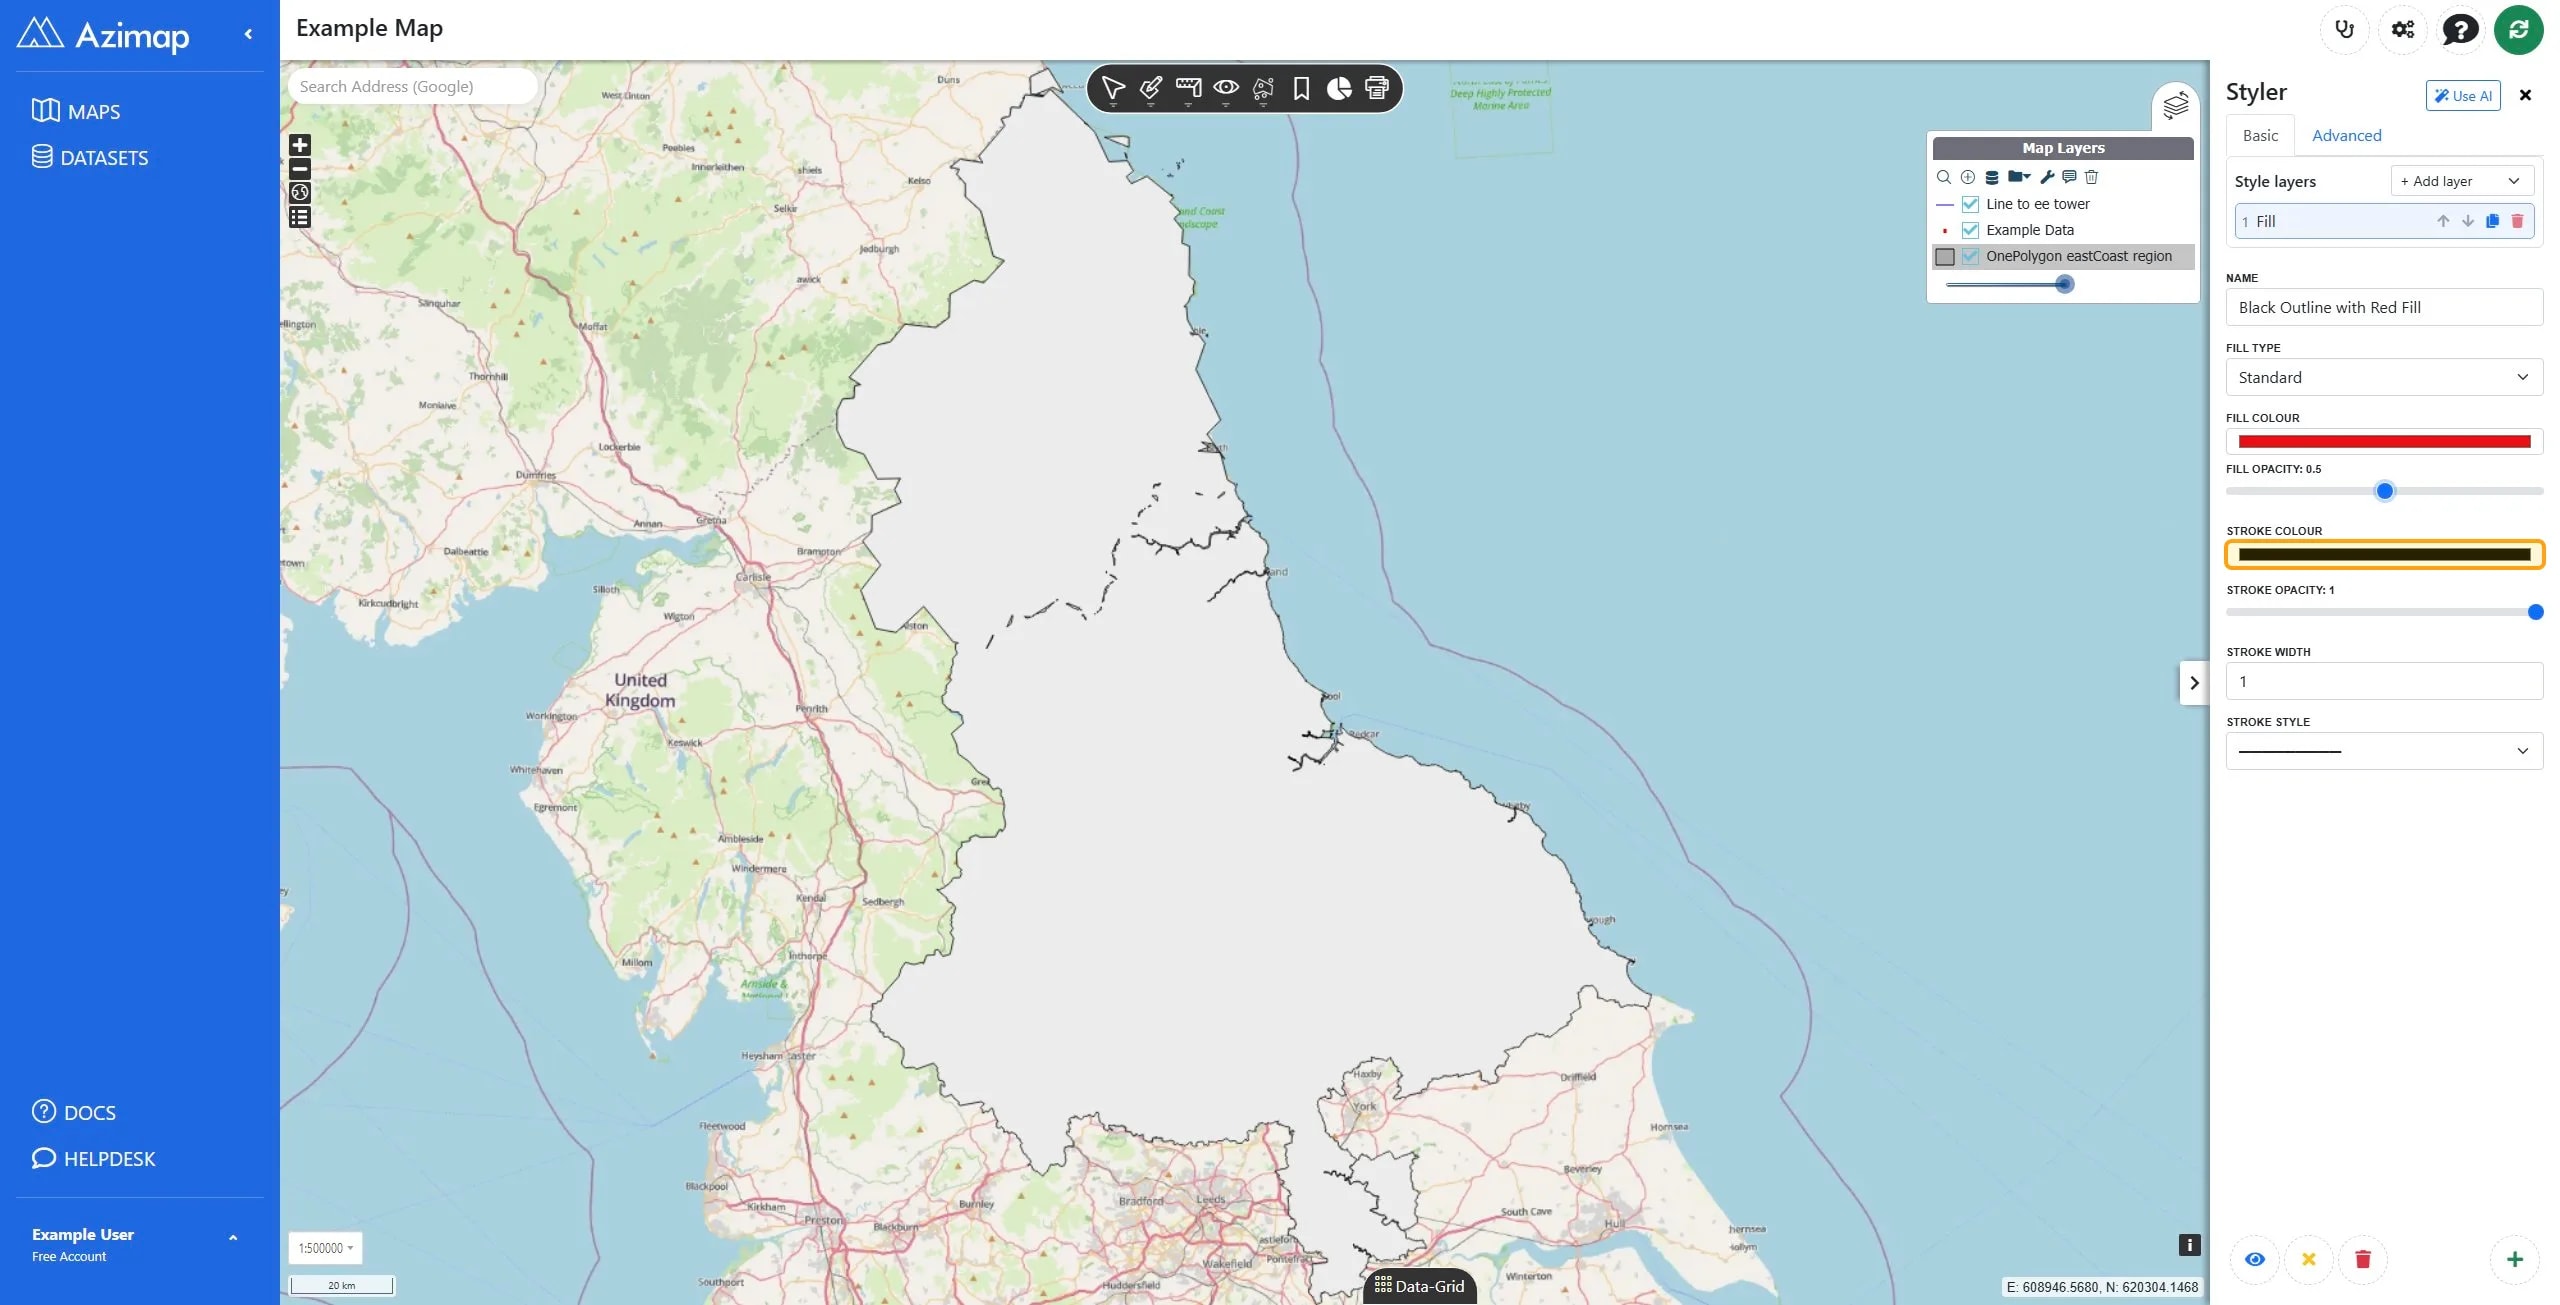
Click the Stroke Colour field to adjust the stroke color.
11
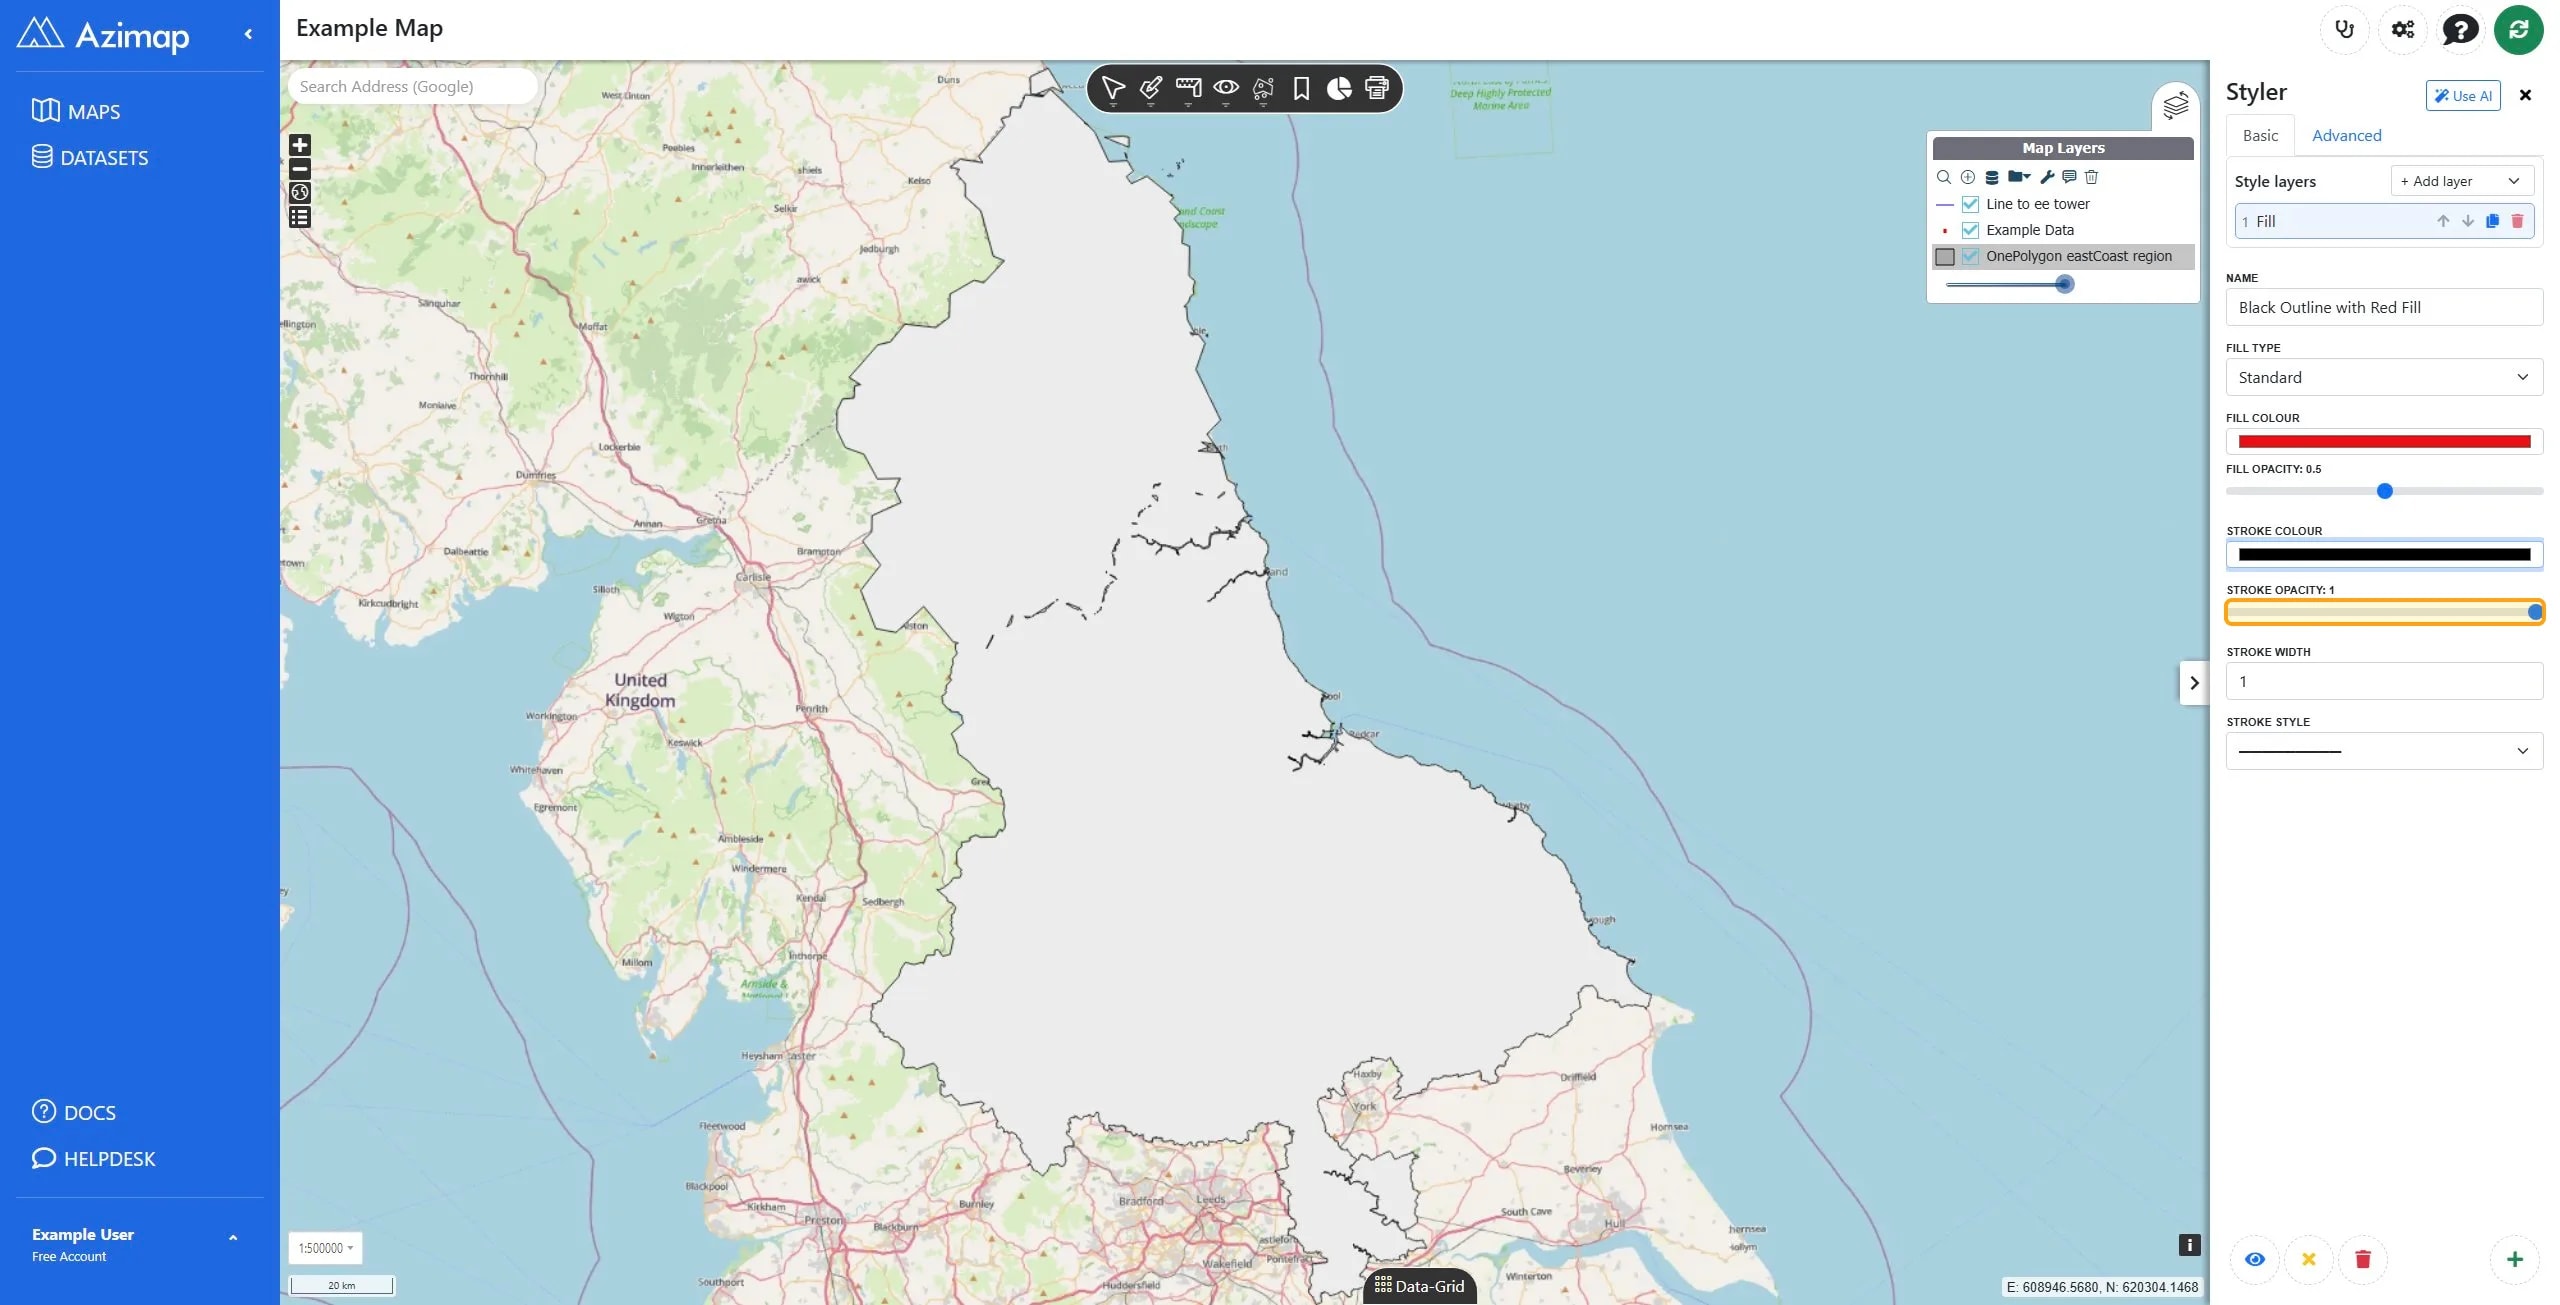
Click and drag the stroke opacity slider to set the stroke opacity.
12
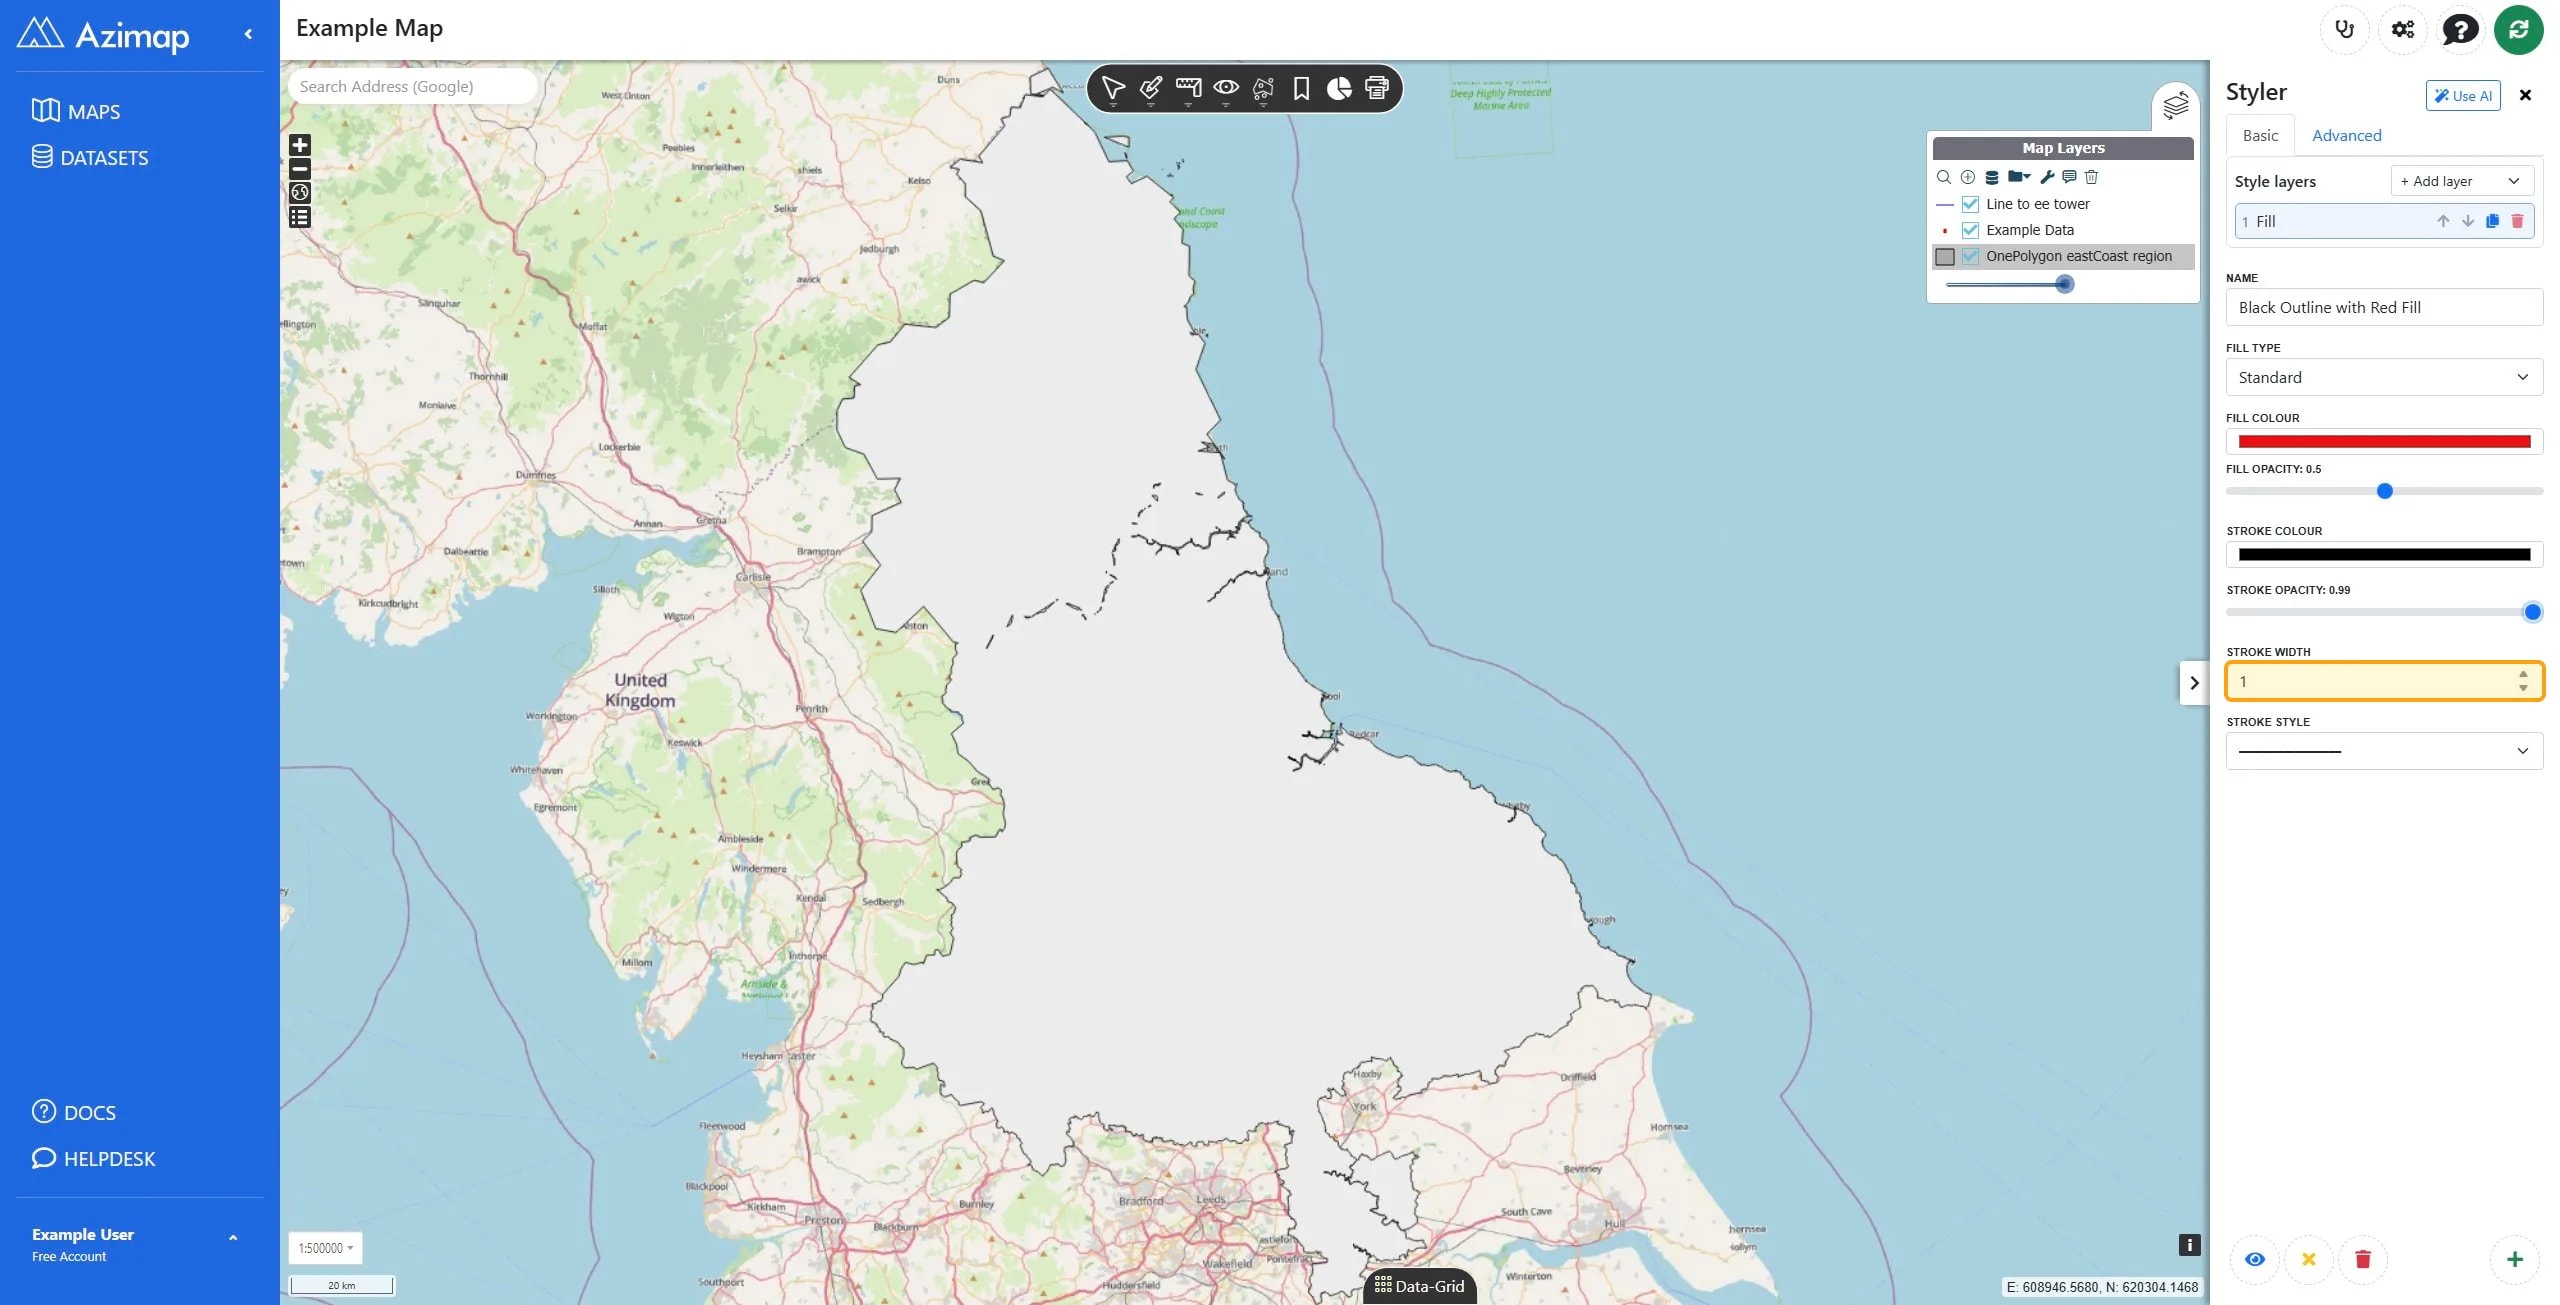
Enter a custom Stroke Width.
13
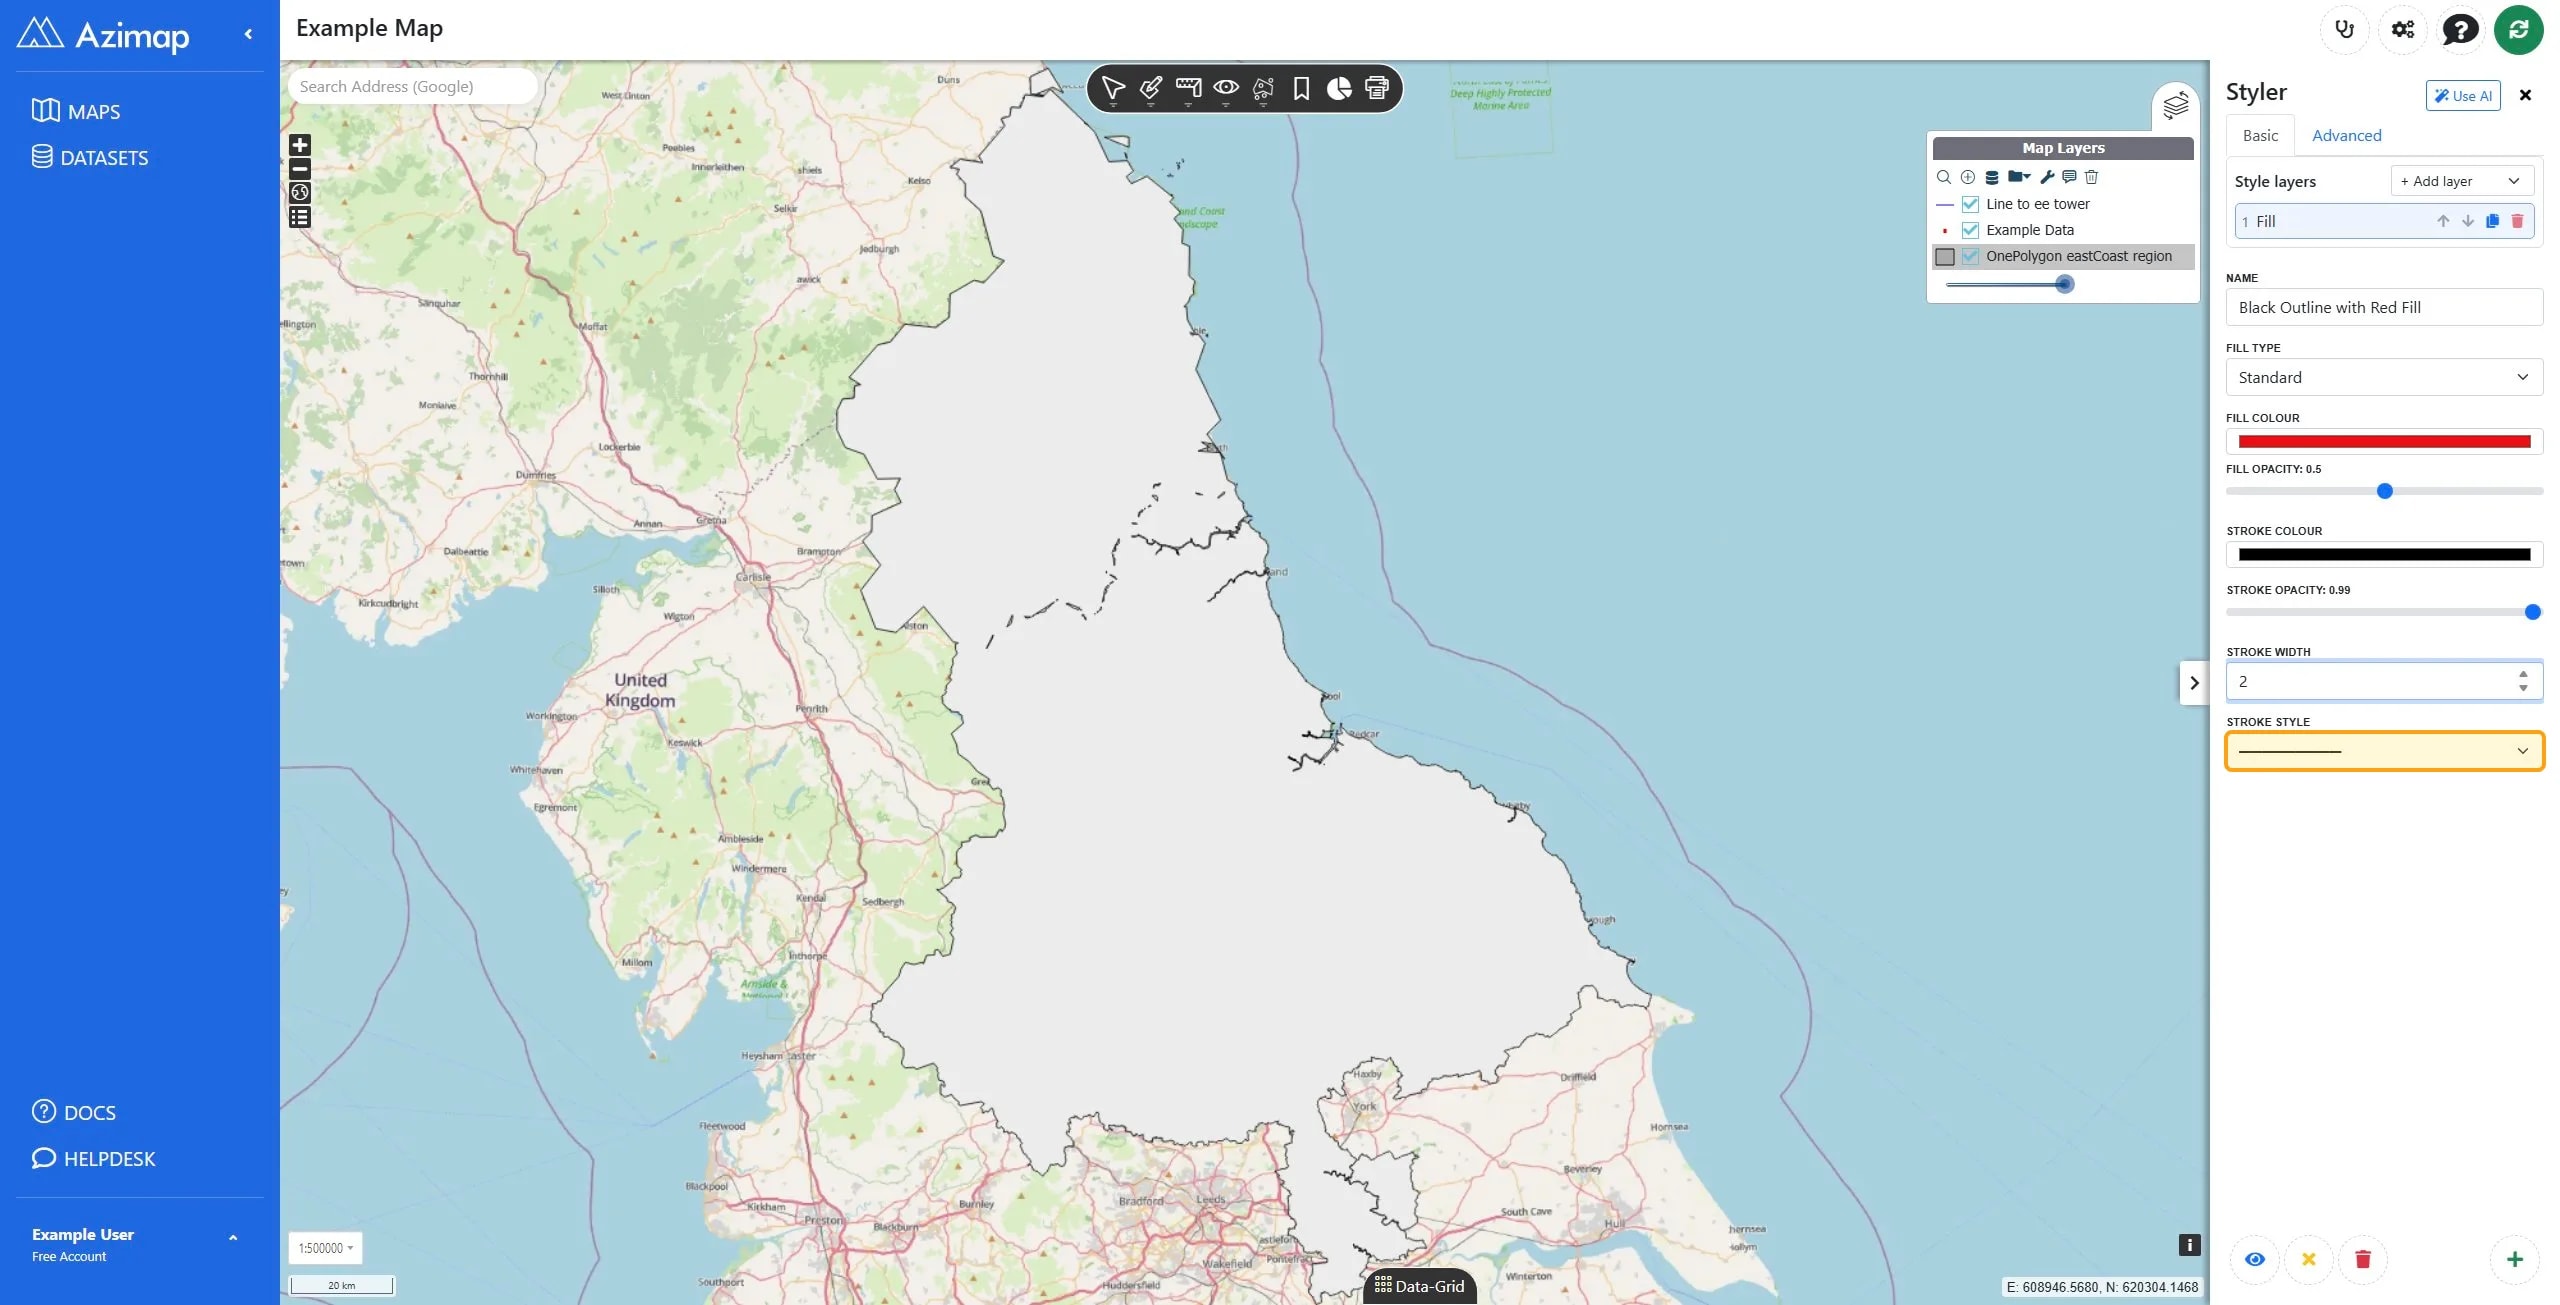
Choose a stroke style.
14
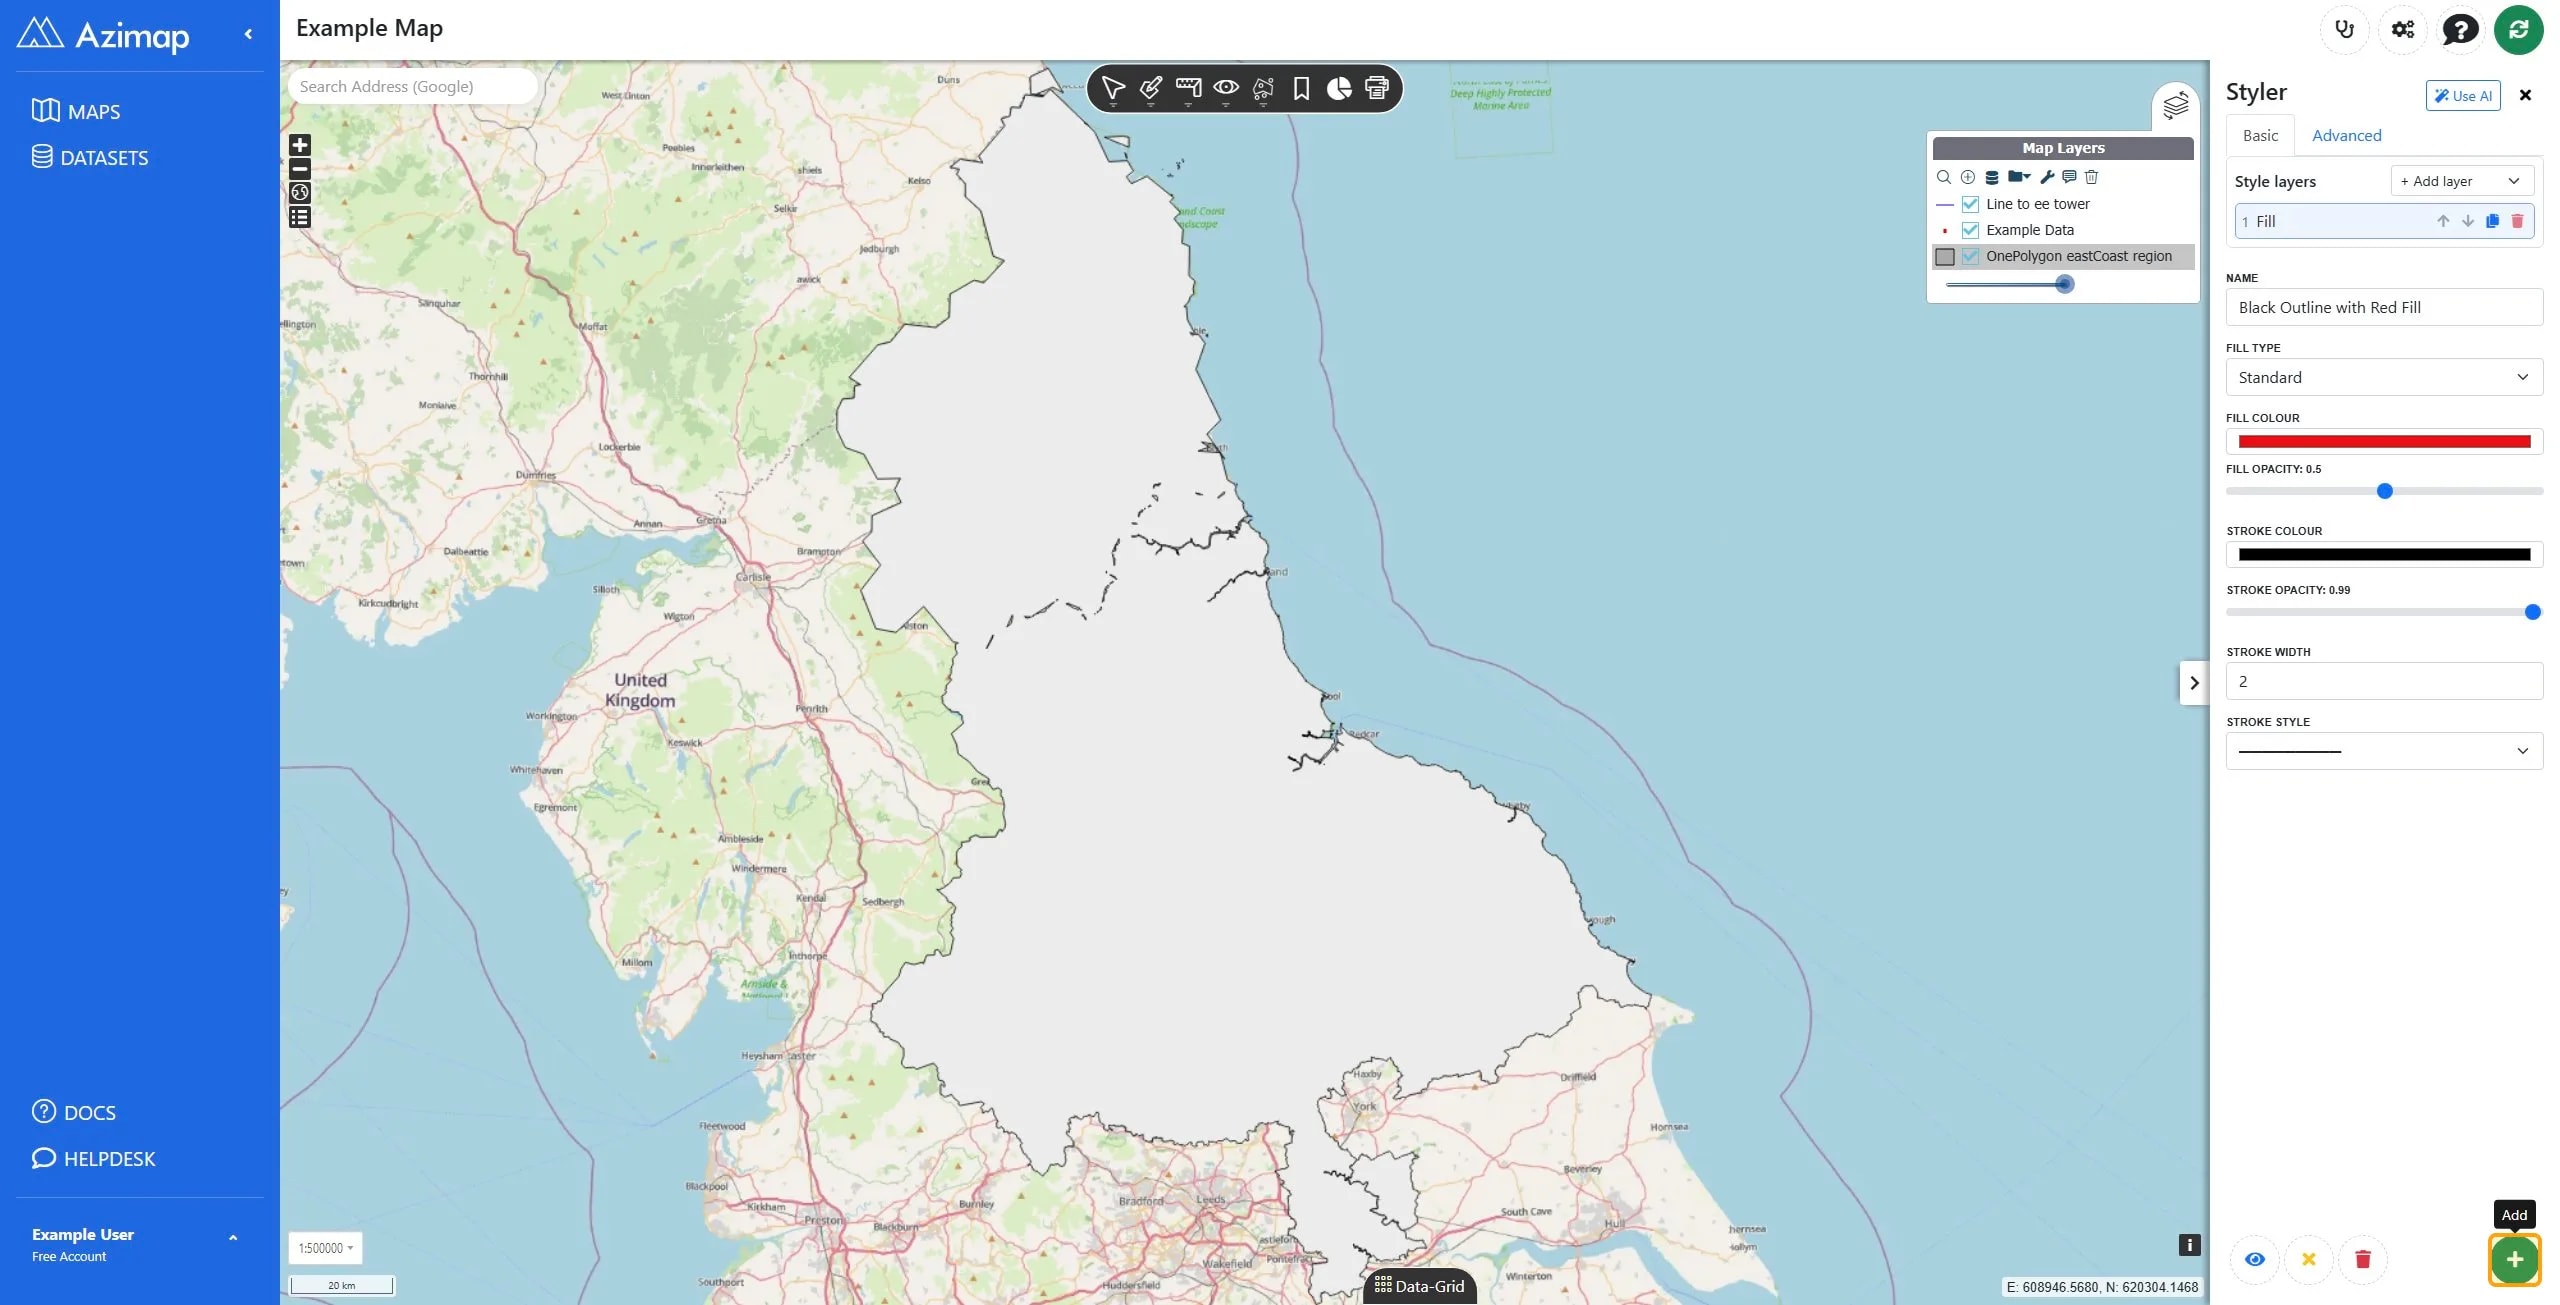
Once you are happy with the rule click Add.
15
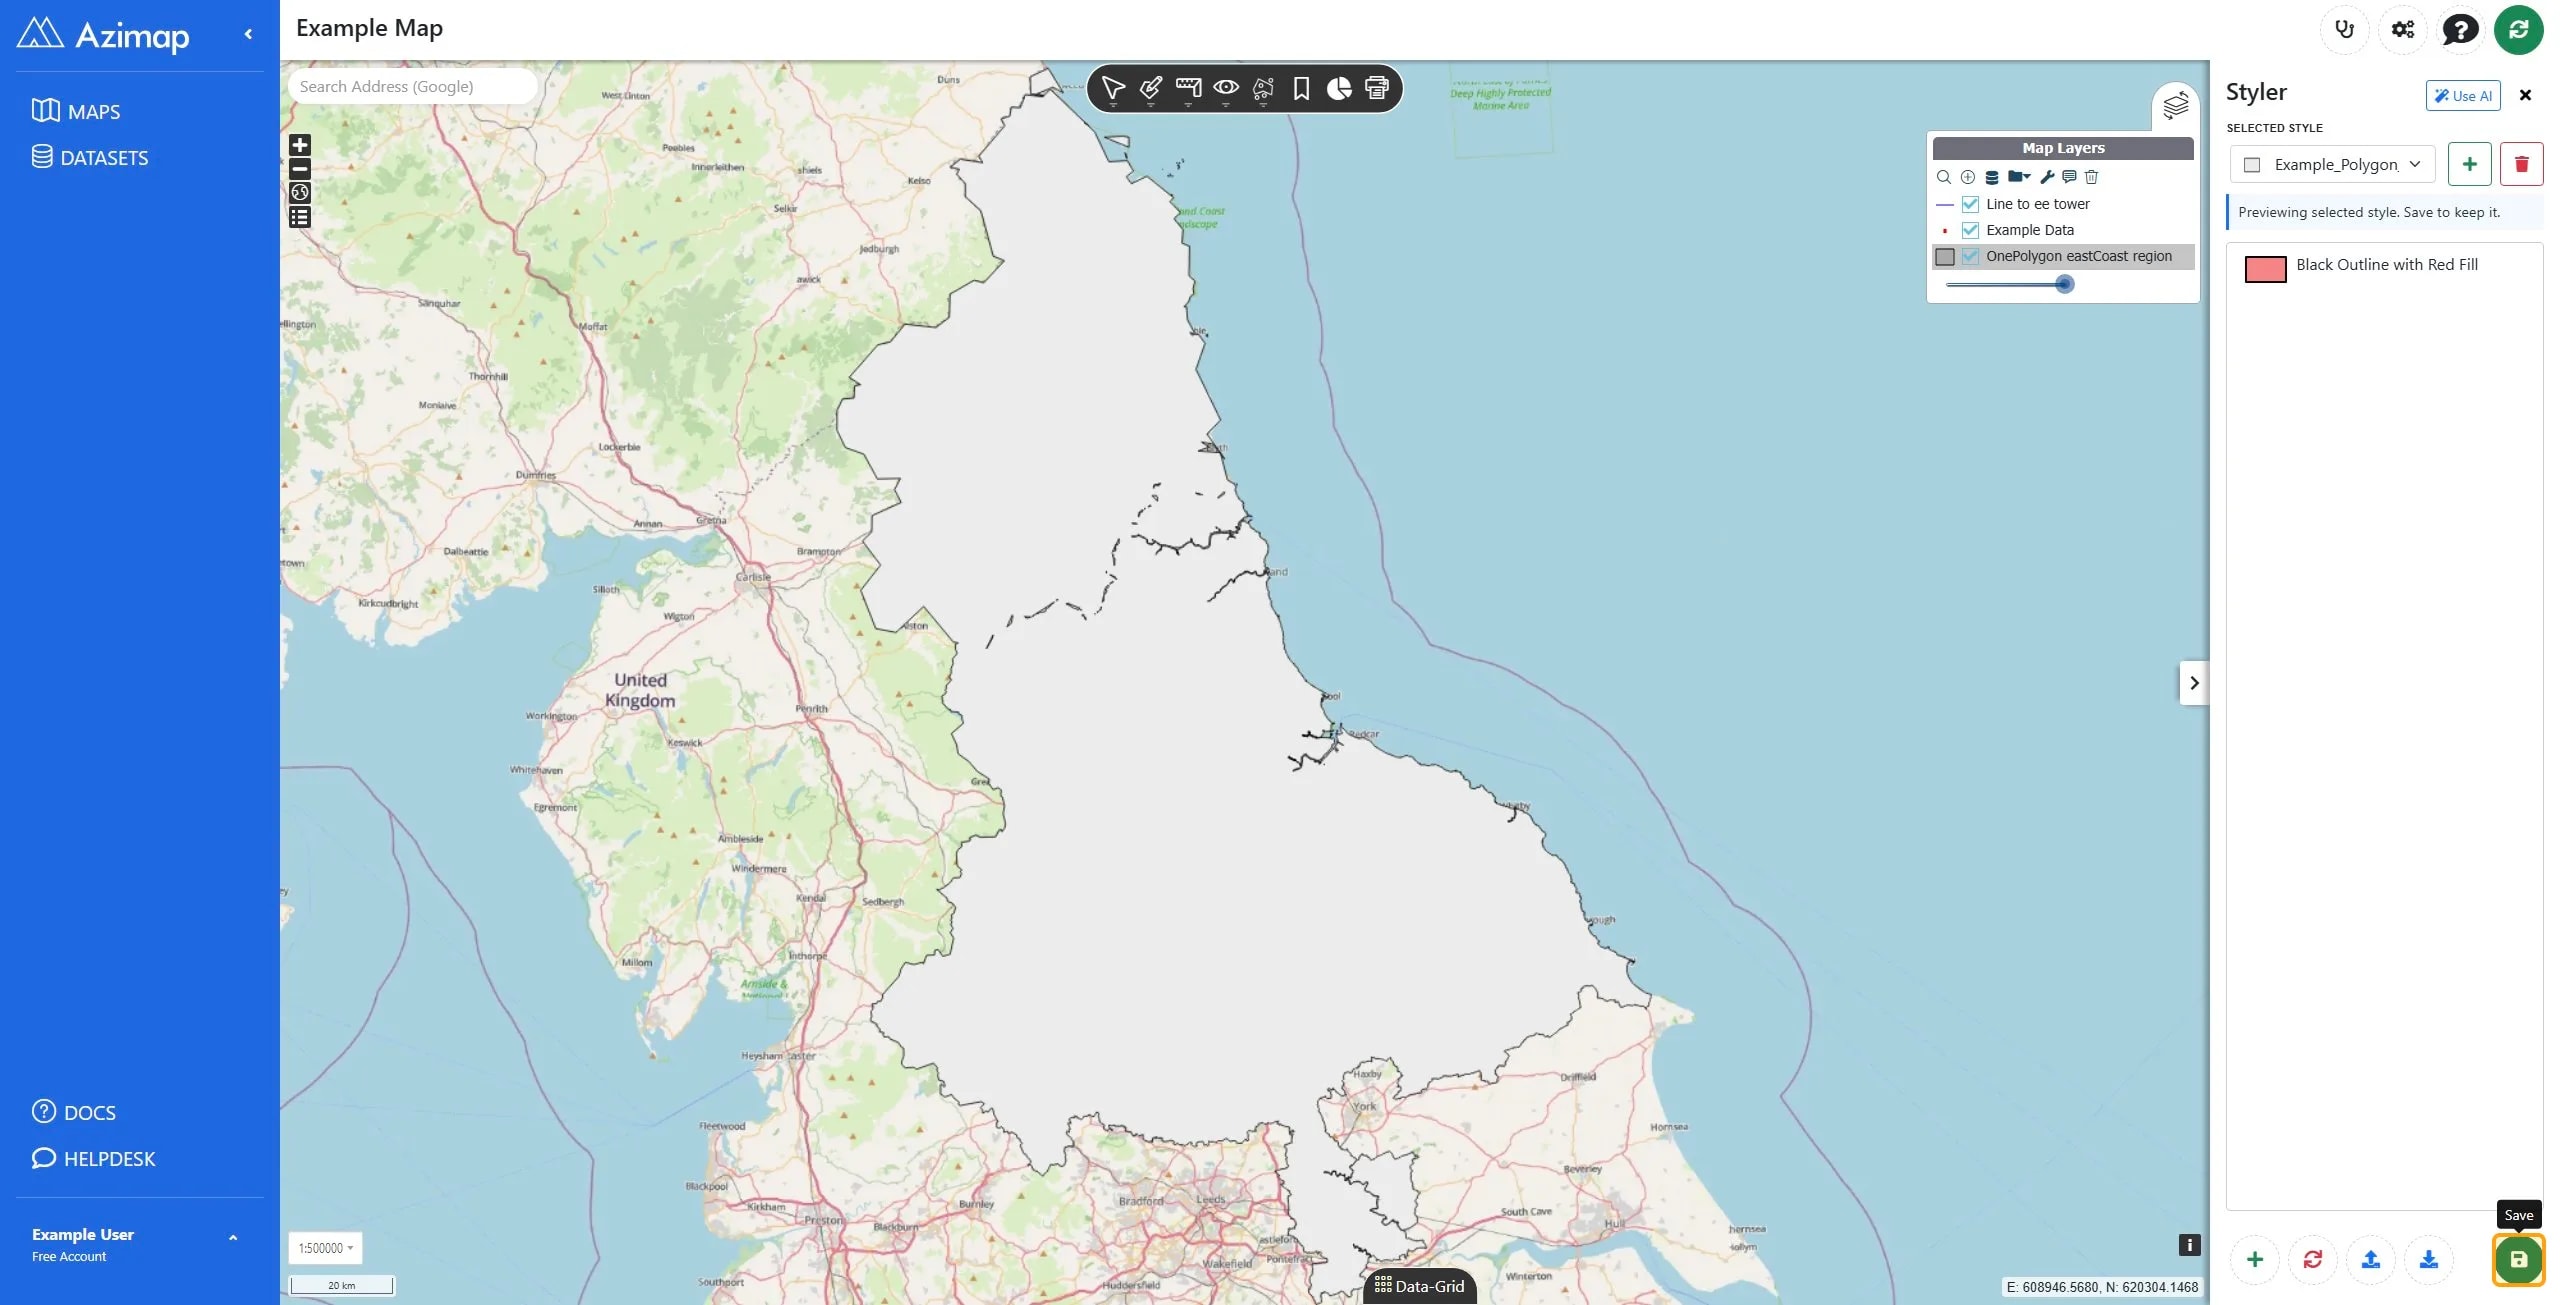
You will now see the new rule in the list of rules for the style. Click Save to save and apply the style to the layer.